Installation of CPM Ads Addon:
- Upload the CPM Ads addon to the “addons” folder in XYZ Admarket script.
- In the “Manage Addons” page please activate the CPM Ads Addon.
![]()
- Now you can setup the CPM Addon settings and click update.
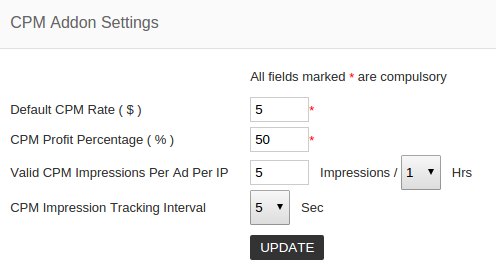
Here you can enter the default CPM rate, publisher profit percentage, impression count per ip and the impression tracking interval.
In the Valid CPM Impressions per ad per IP admin can set the valid impressions count for a particular time. If the value is 5 impressions for 1 hour, 5 impressions in one hour are valid for an ad from an IP.
In the CPM impression tracking interval if the value is 5 seconds, the impression is counted only if the ad is visible for 5 seconds.
- The CPM ads addon is now ready to use.
In Admin Side:
After installing the CPM addon, admin can set the ad display preference in Settings > Ad Display Settings.

In the adcode settings in the same page you can allow publishers to select ppc or cpm adcode.

In Advertiser Side:
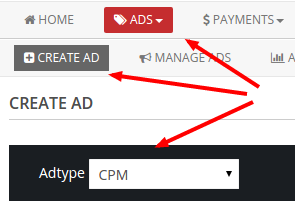
- While creating a CPM ad, advertiser need to select the ad type “CPM”.
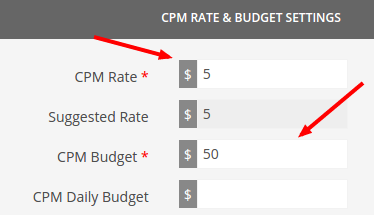
2. Set the CPM rate and budget for the ad.
3. Now after creating the CPM ad, please activate the same.
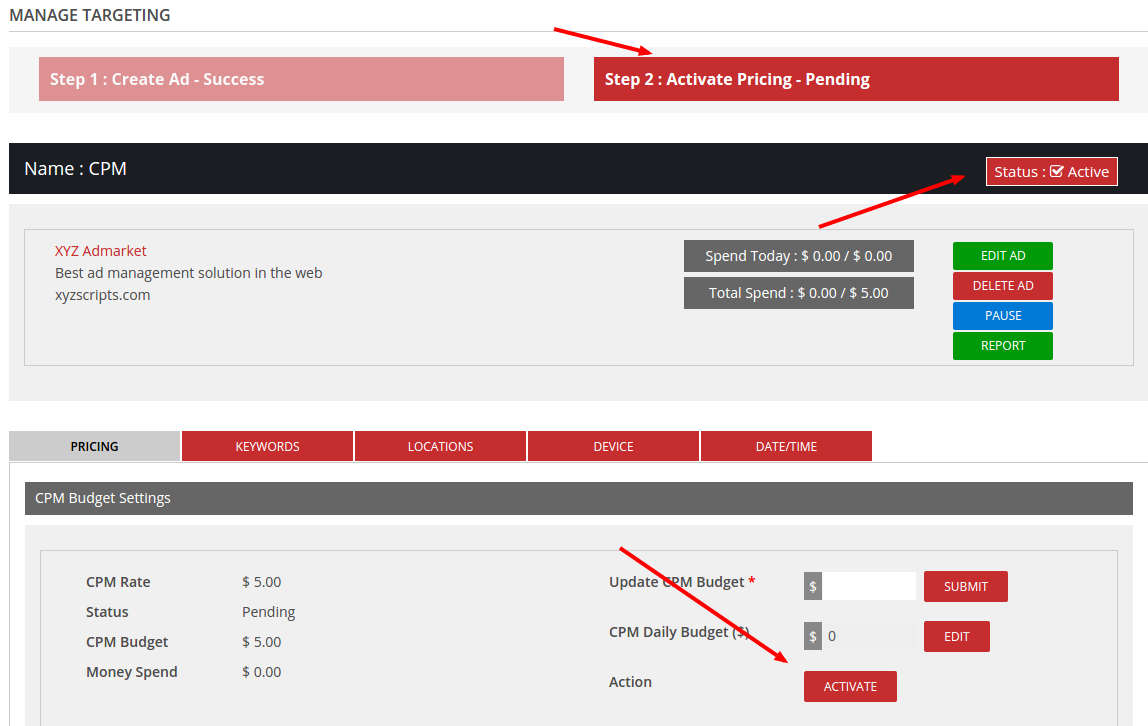
Note : Advertiser can activate the CPM pricing only of the ad is Active.
When the ad pricing is activating, the CPM budget is deducted from advertiser account.
In Publisher Side :
While creating the adcode, publisher can select the adcode type CPM.
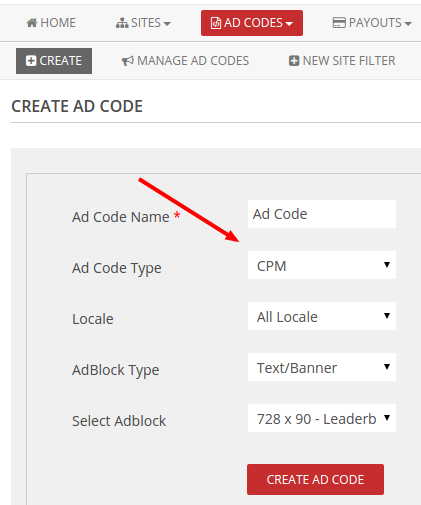
Only the CPM ads will display in this adcode.