Installation of Category Target Addon:
- Upload the Category Target addon to the “addons” folder in XYZ Admarket script.
- In the “Manage Addons” page please activate the Category Target Addon.
- Now you can setup the Category Target settings and click update.
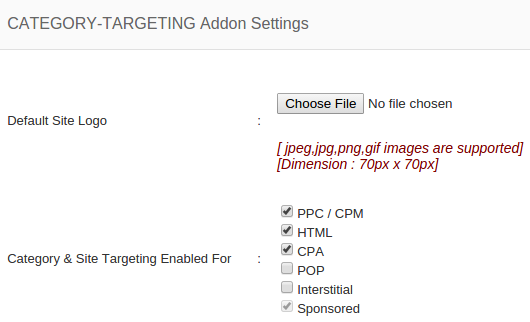
Here admin can set the default site logo and enable the category and site targeting for each category.
- The category targeting addon is now ready to use.
In Admin Section :
Admin can manage the categories and sites. The settings are available as Category and Sites Addon.
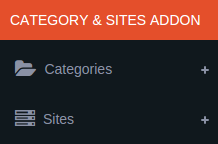
Categories:
To add new category, click the Add category link.
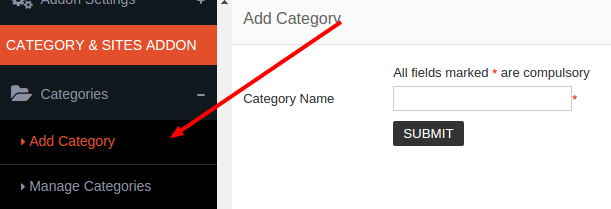
Here admin can enter the category name and click “Submit”.
To see all the categories, click the Manage Categories link.
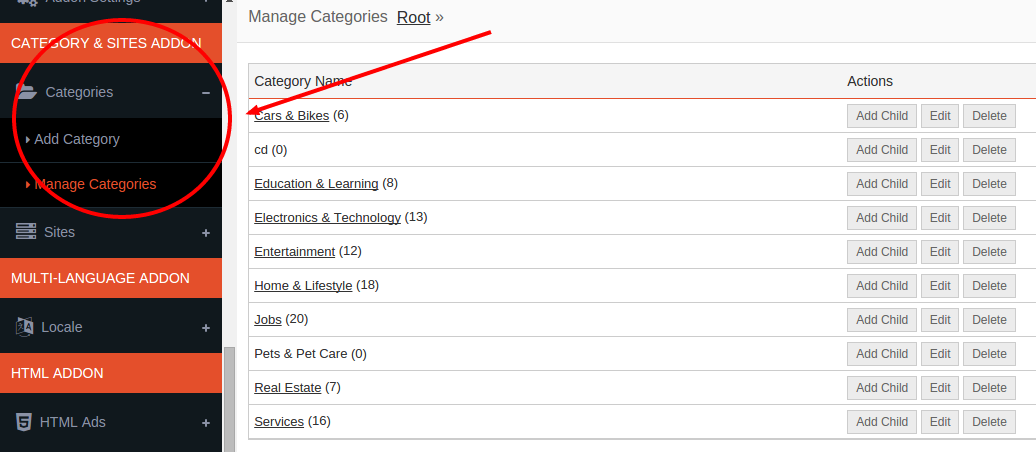
Admin can see all the categories. To see the sub category or the child category, click on the category name. The sub category count is present with each category.
To add a new child category, click the “Add Child” link.
Sites:
To add a new site from admin area, click the “Add Site” link.
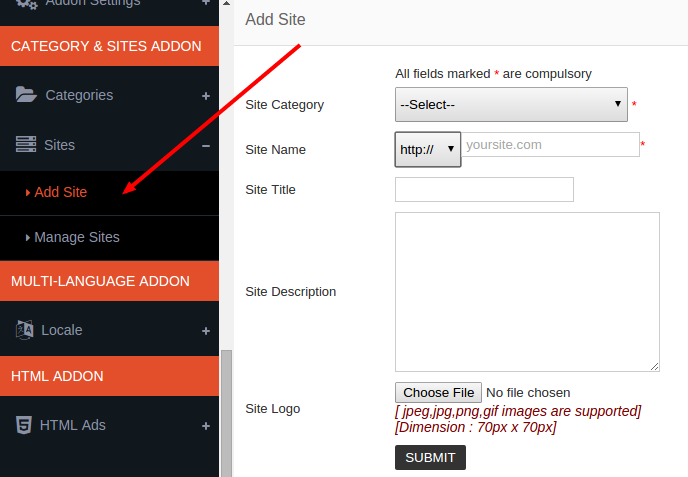
Here select the category to add the site, enter the site url, title, description and logo.
To manage the sites, click the “Manage Sites” link.

Here admin can see all teh sites added and manage them.
In Advertiser Section :
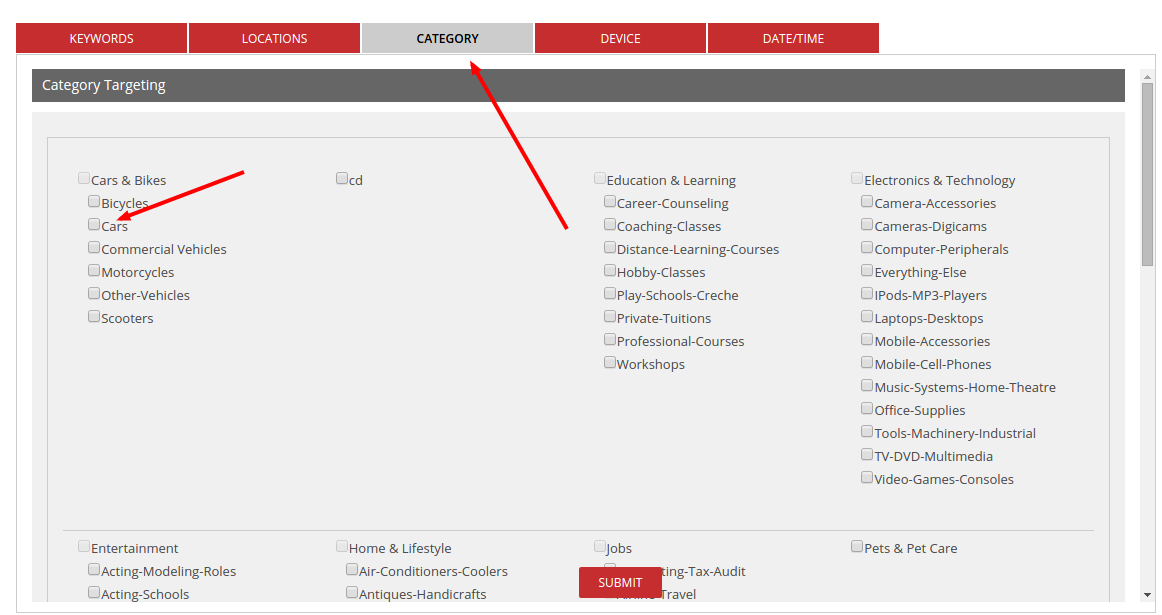
After creating the ad, advertiser need to select the category.
In Publisher Section :
Publisher can add their site to a category.
For this please go to the Sites > Add site.
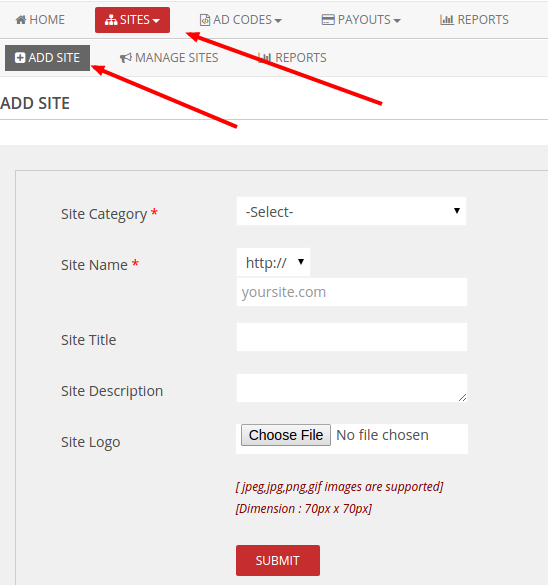
Publisher can select the category, enter the site url, title, description and logo and submit it.
To manage the sites, go to Sites > Manage Sites.

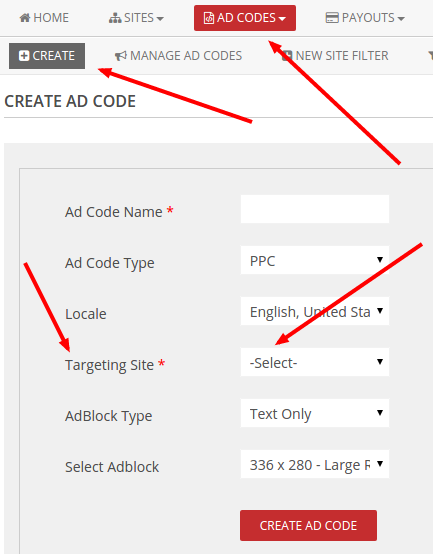
Also while creating an adcode, publisher need to select the site where the adcode is placing and the the adcode is working only in that site only.
