Instagram Settings
Please note that from August 1, 2018, we need to submit the Instagram(facebook) app for approval and we can use the Facebook app, only after getting the approval. The app submission details are available in
How can I create an Instagram application?
We have introduced an alternate solution and it is a paid service that starts from USD 10 per year.
So there are 2 options, use the free Facebook approved APP or use the paid alternate solution.
If you are using the facebook approved free API, we can use it on https sites only.
Also, we can publish to Instagram business accounts and connected Facebook pages using the API.
The settings for the Social Media Auto Publish are given below.
Click on the Social Media Auto Publish plugin menu in the left menu bar to get the settings page.

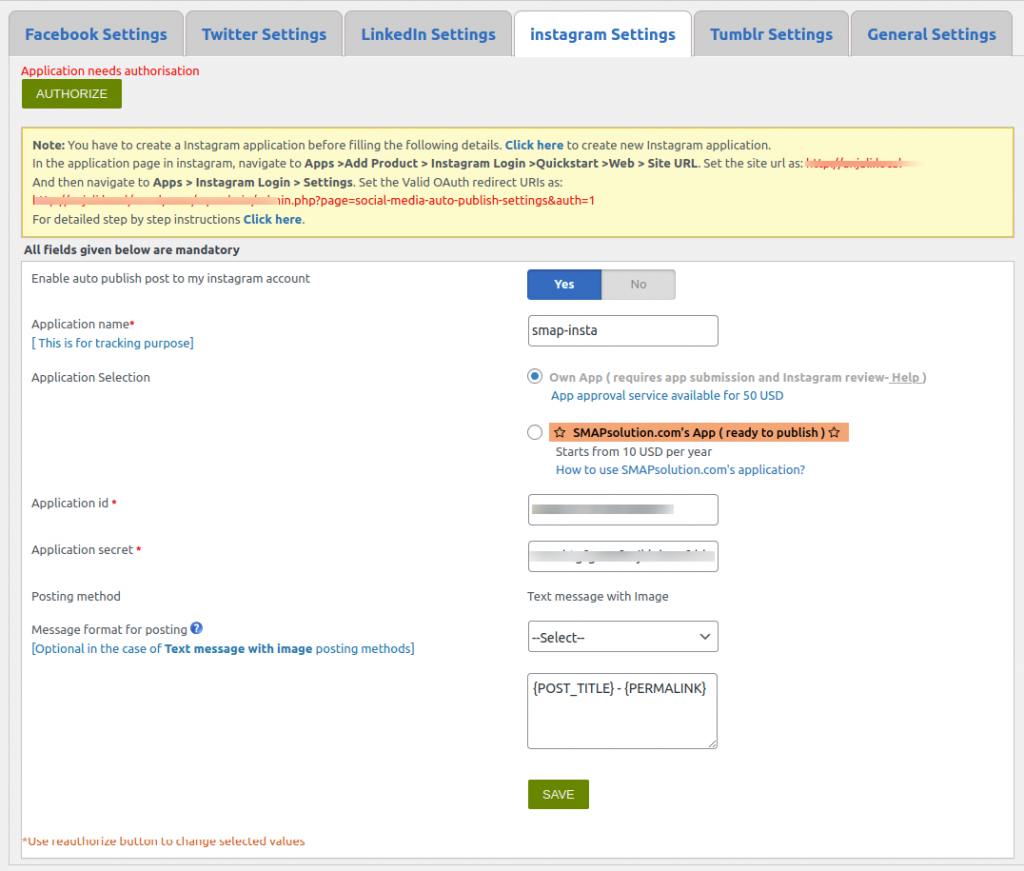
Instagram Settings
Instagram settings are given below.
You have to create a Facebook application for Instagram before filling in the Instagram settings details.
Note: From August 1, 2018, we need to submit the facebook app for approval and we can use the Facebook app, only after getting the approval. We have introduced an alternate solution and it is a paid service that starts from USD 10 per year. So there are 2 options, use the free Facebook approved API or use the paid alternate solution.
To create a new Facebook application for Instagram follow the link
In the application page in facebook, navigate to Apps >Add Product > Facebook Login >Quickstart >Web > Site URL.
Set the url of your site as the Site URL.
Note: We can use only https sites.
From the facebook application, you will get the application id and application secret. Enter these values in the space provided.
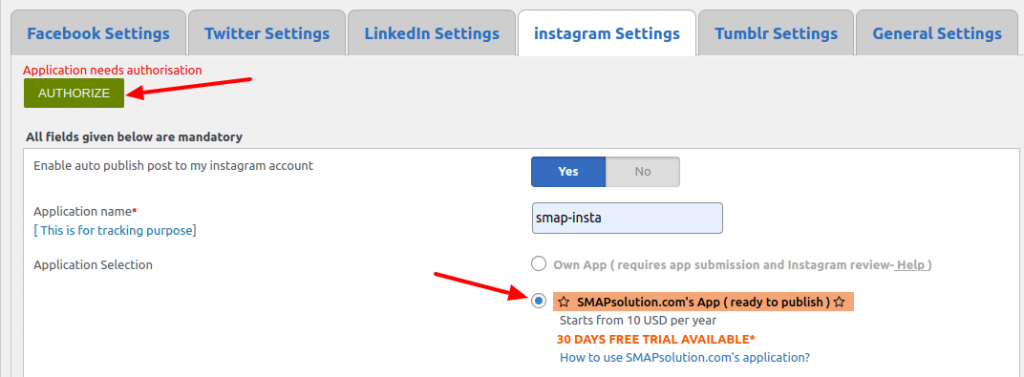
1. Enable auto publish post to my Instagram account – If you want to publish your blog posts on Facebook automatically, enable this option.
2. Application Name – This is the name of the application only. You can use any name here.
3. Application Selection – Here you can select your own facebook approved APP or the paid smapsolutions service.
4. Application id – Enter the application id from Facebook application here. (Applicable only if you are using your own facebook app.)
5. Application Secret – Enter the facebook application secret here. (Applicable only if you are using your own facebook app.)
6. Posting Method – Free version supports

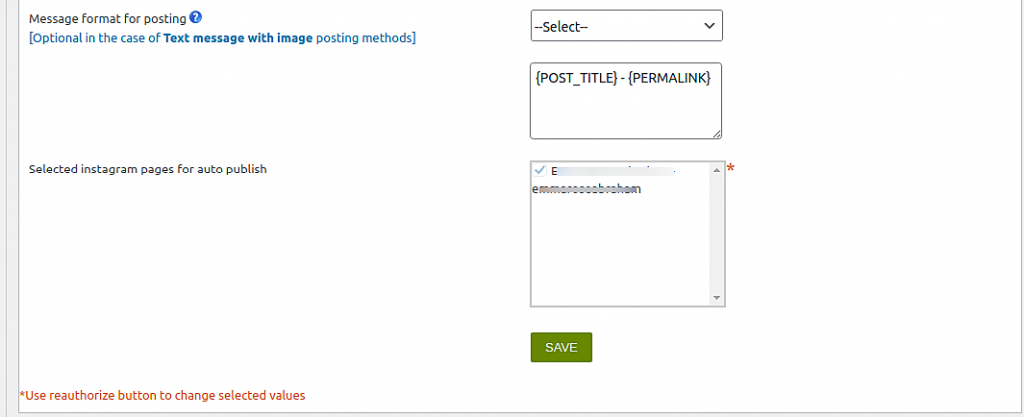
7. Message Format for posting – This is the message format for posting on Instagram. You can add your message with the post title, blog title, etc. here. The codes are given below.
- {BLOG_TITLE} – This is the title of the blog (wordpress site name)
- {POST_TITLE} – Title of your post.
- {PERMALINK} – This is the URL of the post.
- {POST_EXCERPT} – This is the summary of your post.
- {POST_CONTENT} – This is the description of the post.
- {USER_NICENAME} – This is the nice name of the author.
- {POST_ID} – This is the ID of the post
- {POST_PUBLISH_DATE} – This is the post publish date.
- {USER_DISPLAY_NAME} – This is the display name of the user.
If you want to display the post title, the link to the post, and the summary of the post, please use the codes {POST_TITLE} – {PERMALINK} – {POST_EXCERPT}. You can select the code from the dropdown menu.
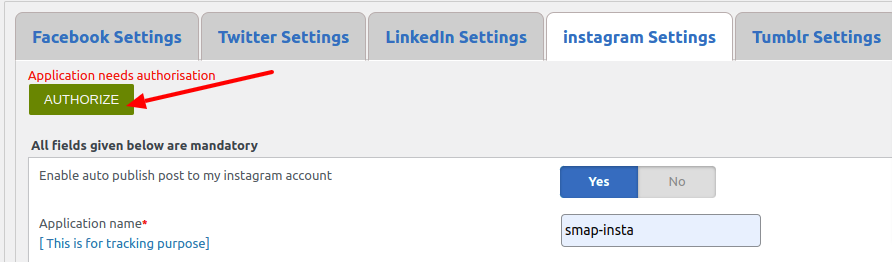
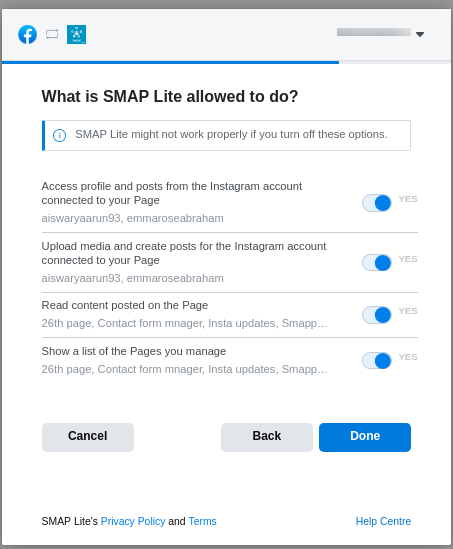
When you click on the “Authorize” button, it will redirect to a facebook popup dialog box.
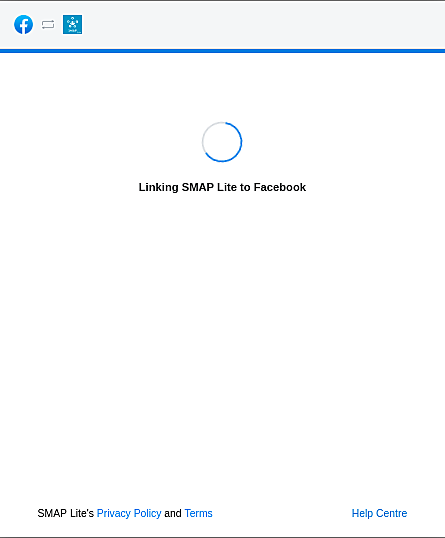
Step 1:

Here click on the continue button.
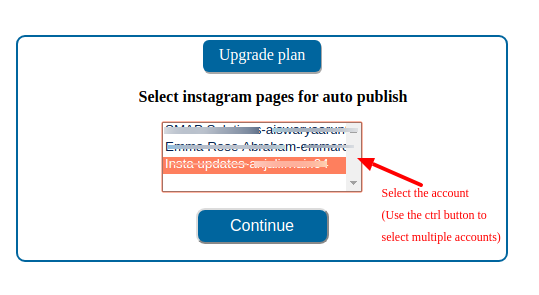
Step 2:

Select the Instagram business accounts to which you want to publish.
Step 3:


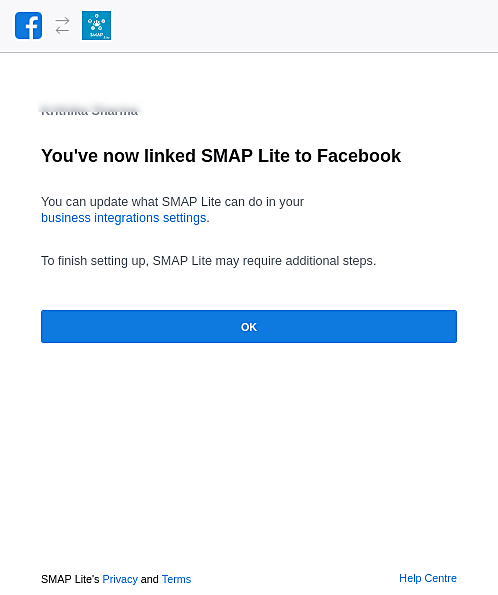
The app is now connected to your Instagram account.
Now you can see all your Instagram business account’s connected Facebook pages and you can select the page/business account to auto publish.
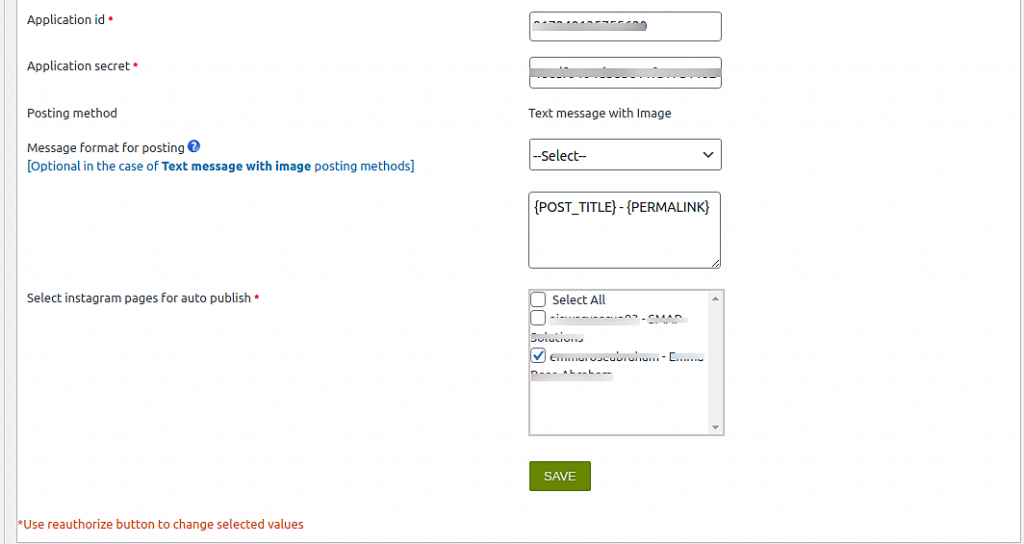
9. Select Instagram pages for auto publish – You can select your Instagram business account/connected facebook pages where you want to publish the blog posts.
Note 1: You can see this option (Select Instagram pages for auto publish) only after authorizing the Facebook account. The first time when you enter the values, this field is not available. After entering the values, you need to authorize the Instagram account and then you can see the Instagram pages for auto publish. Save the facebook settings again after selecting the page where you want to display the post.
Note 2: While authorizing, please make sure that you have entered the correct facebook keys and details. If any of the value is incorrect, it won’t authorize the account.
The steps for using the already approved app
Please select the approved app option and click on the connect to xyzscripts account button.
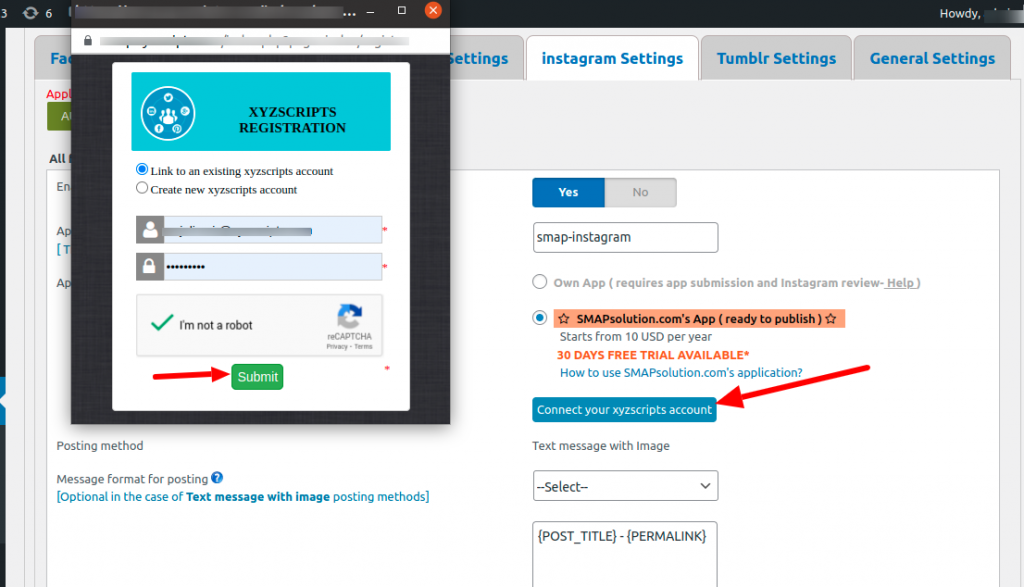
Now it will display a popup to login to xyzscripts or register to xyzscripts.
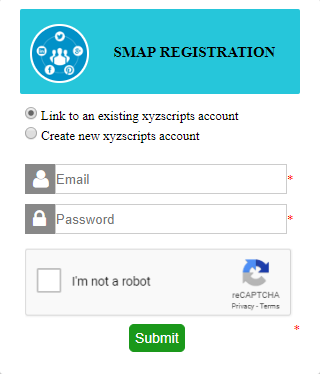
If you are creating a new account, it will send a confirmation mail to the registered email and click on the confirmation link.
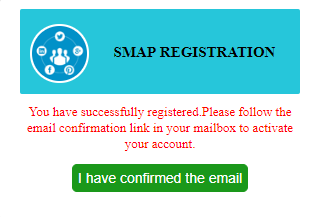
After confirming the email, please save it and click on the “authorize” button.
Now it will ask you to select the package.
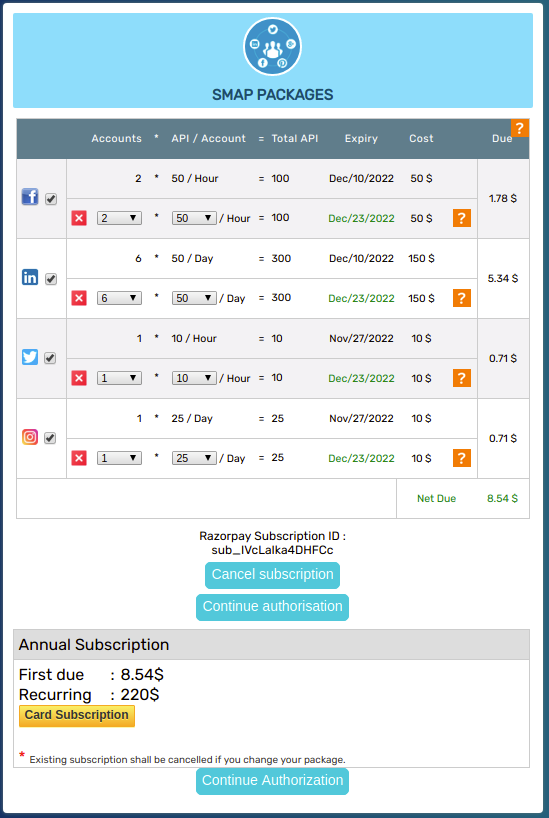
After purchasing the package and successful payment it will redirect to facebook authorization flow.
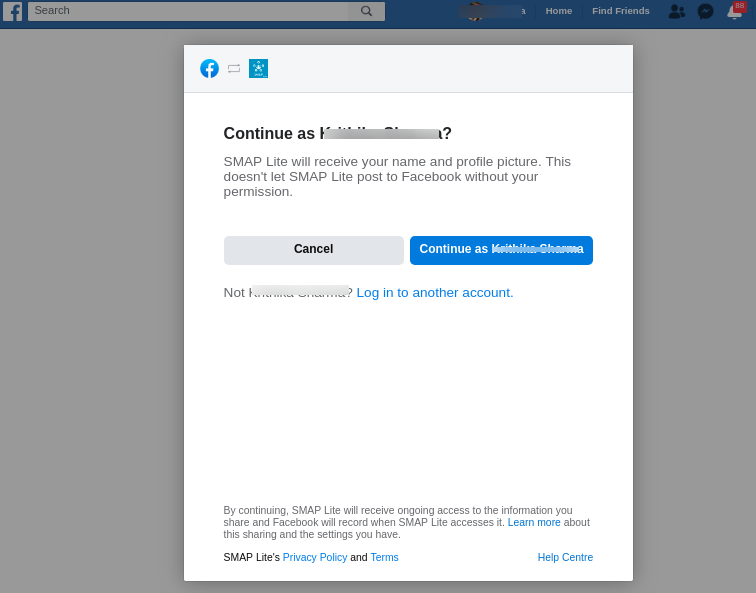
Now click on the continue button.

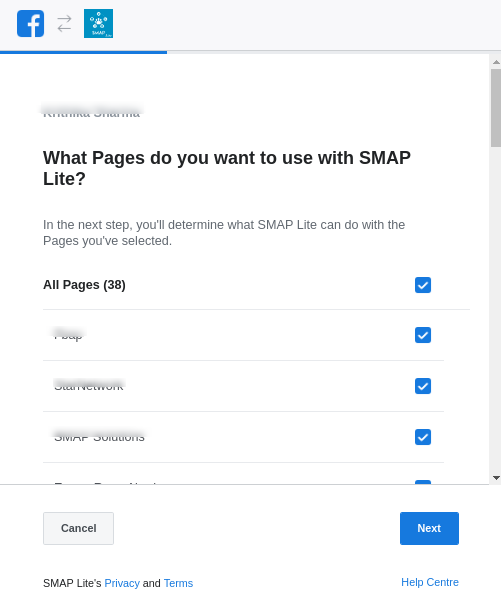

After Facebook authorization is completed, instagram pages will be listed.
Select pages and click the continue button, it will redirect to the instagram settings page, where the selected pages are displayed.
Now you can select the pages to publish.