This guide covers the steps to create and configure a Facebook App for Instagram integration, including business verification, app review, and authorization.
Sections in this Guide:
✅ Section 1: Facebook App Creation
✅ Section 2: App Review
✅ Section 3: App Authorization
Note:If submitting an app for approval is difficult, refer to: How can I use the alternate solution for publishing posts to instagram?
Due to Facebook restrictions, the new Facebook App can only be used on HTTPS sites.
A Facebook App allows publishing to Instagram Business/Creator accounts via connected Facebook Pages.
Once you have registered as a Meta Developer, you will have access to the App Dashboard. To register, follow the steps provided in the Meta Developer Registration Guide.
Section 1: Create Facebook App for Instagram
Create a Facebook App
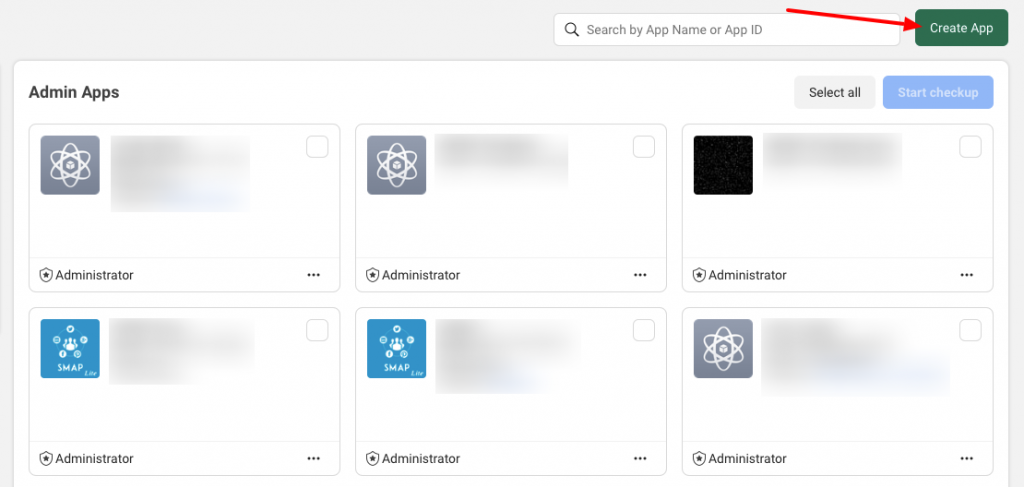
Visit https://developers.facebook.com/apps or https://developers.facebook.com/
Click “Create App”
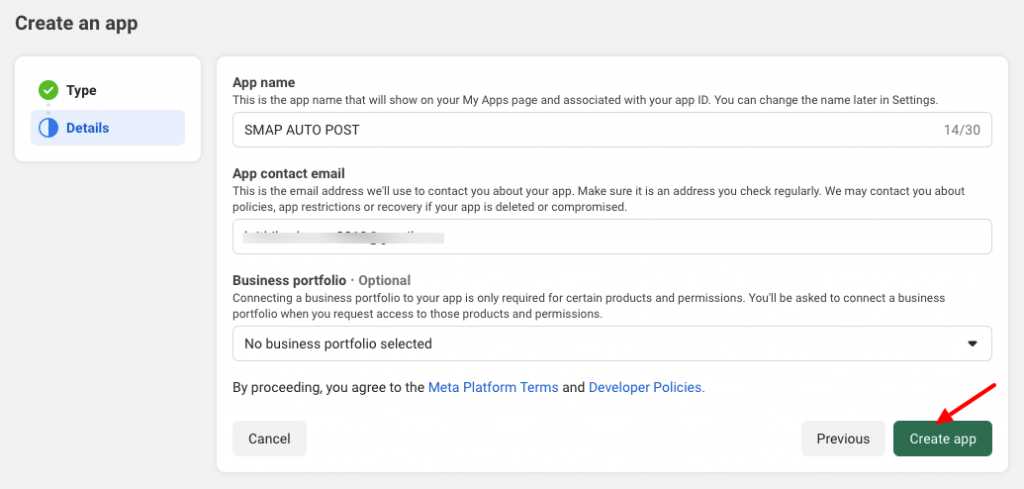
Enter App Display Name & Contact Email, then click “Next”

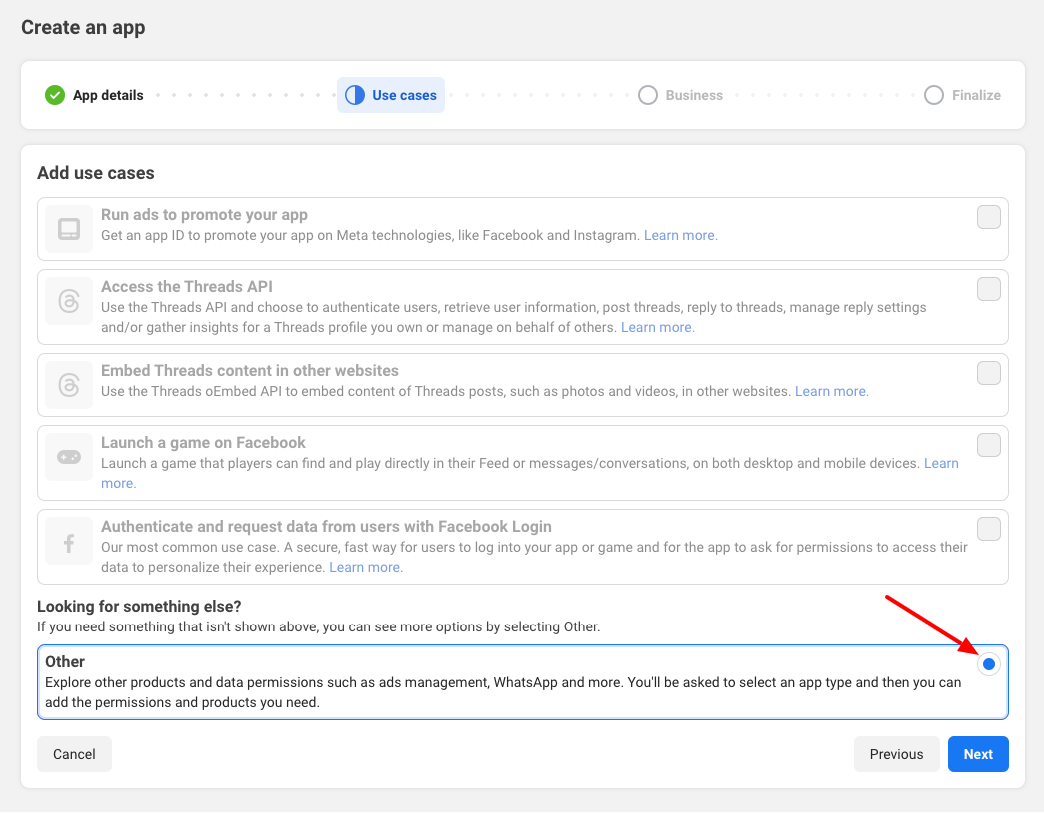
Select “Other” as the use case and click “Next”
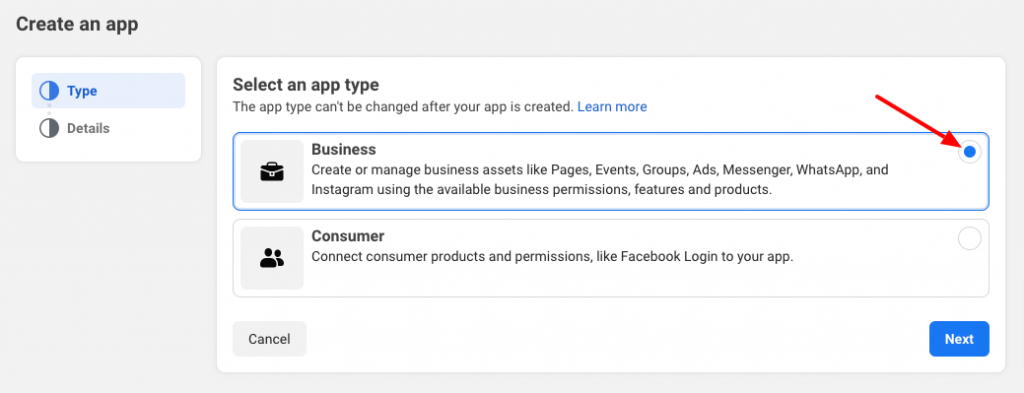
Choose “Business” as the App Type, then click “Next”
Enter details and connect to a Business Portfolio (if available)
Configure Facebook Login for Business :
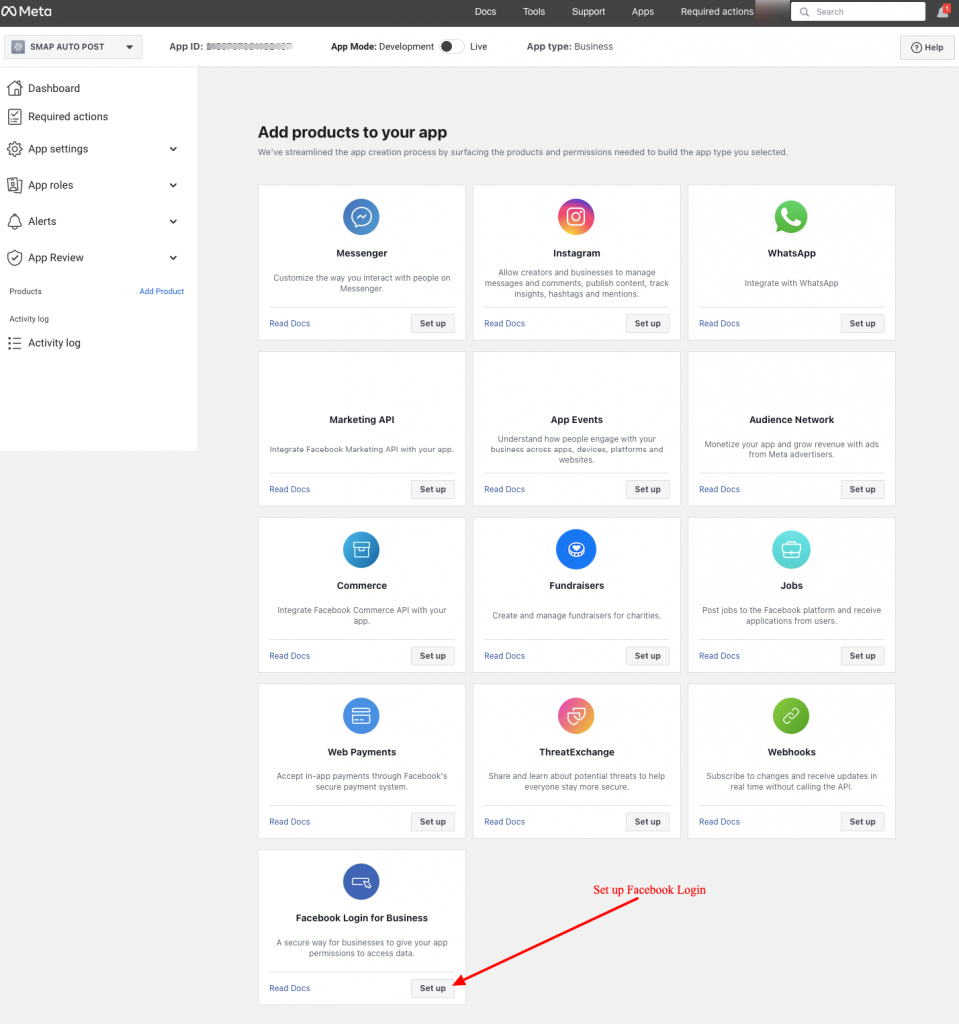
You will be redirected to the ‘Add Products to Your App’ page.
On the “Add Products to Your App” page, click “Setup” under Facebook Login for Business
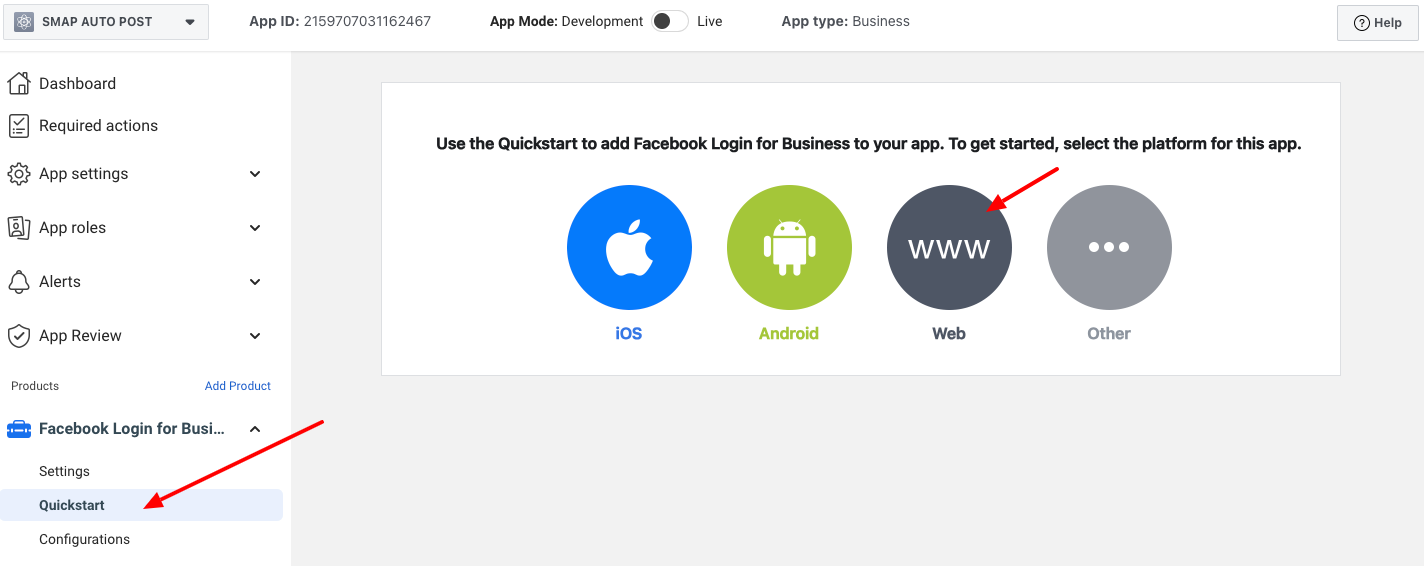
On the setup page, click “Web”
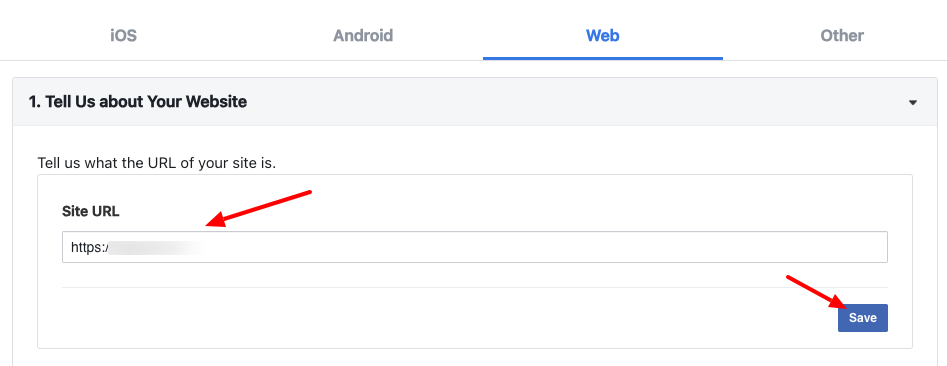
In the “Site URL” section, enter your website URL and save it
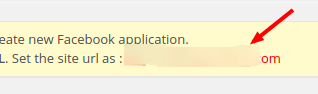
(Note: You can see your site URL at the top of the plugin Facebook settings. See the below image)
Navigate to “Facebook Login for Business > Settings”
Enter the Valid OAuth Redirect URIs (Available in the plugin’s Account Settings section)

Please use this OAuth redirect URI in the Facebook settings.
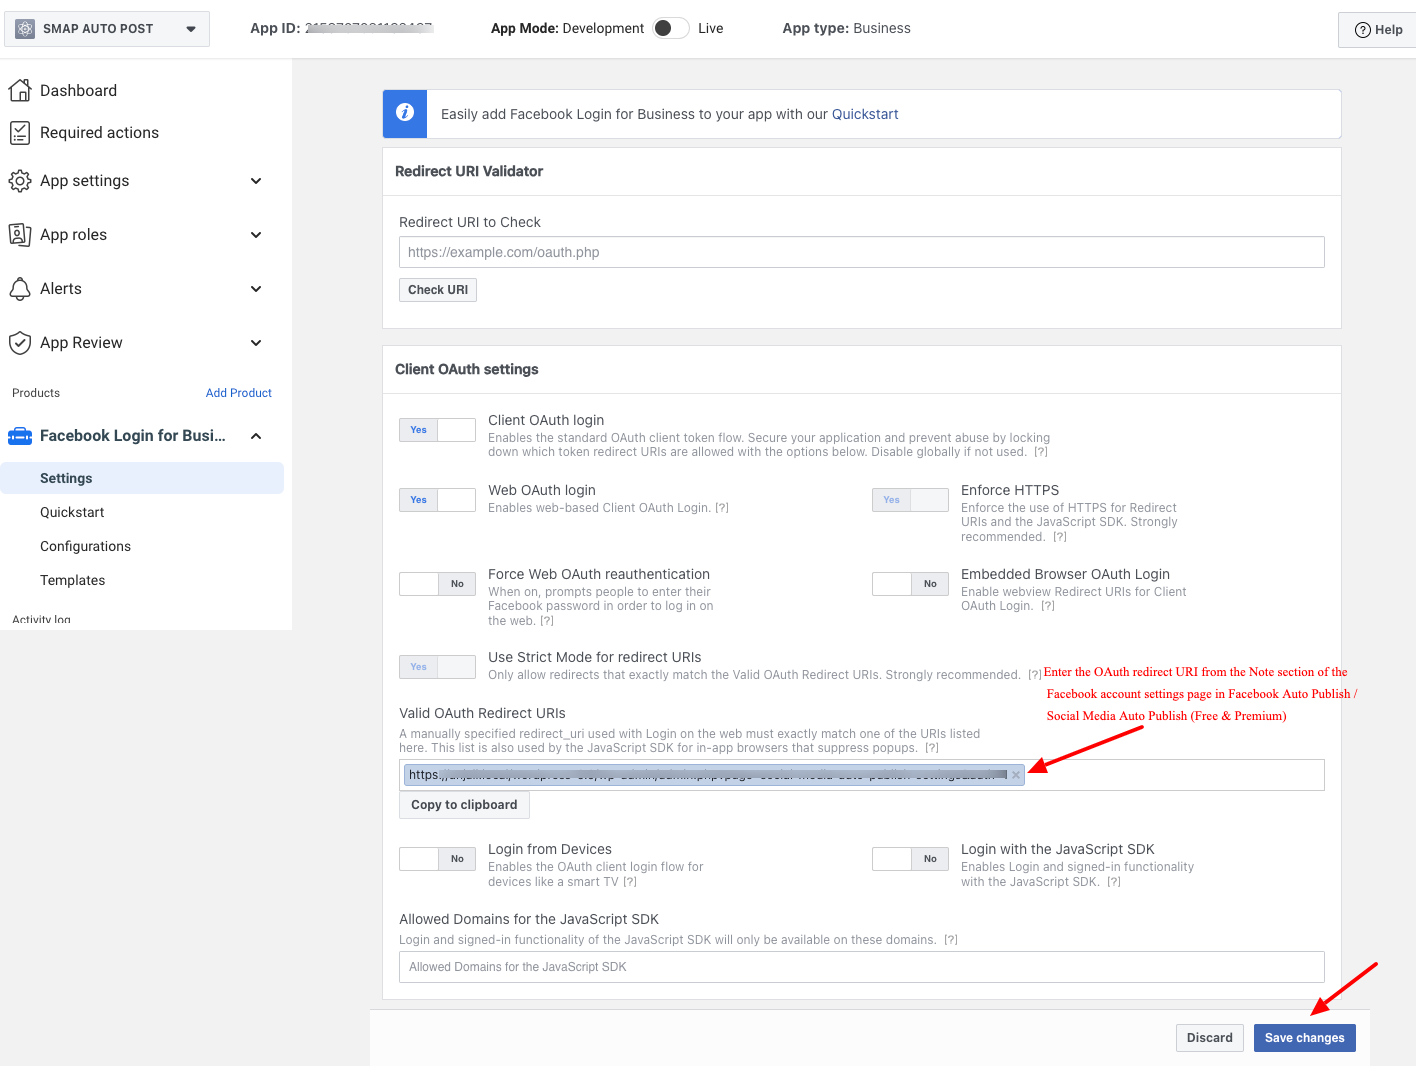
Ensure Client OAuth Login & Web OAuth Login are enabled
Then save the changes.
The app is created now but we need to add some more parameters to submit the app for approval or Make the app live for auto publish.
Configure Basic App Settings
Click “Settings > Basic”
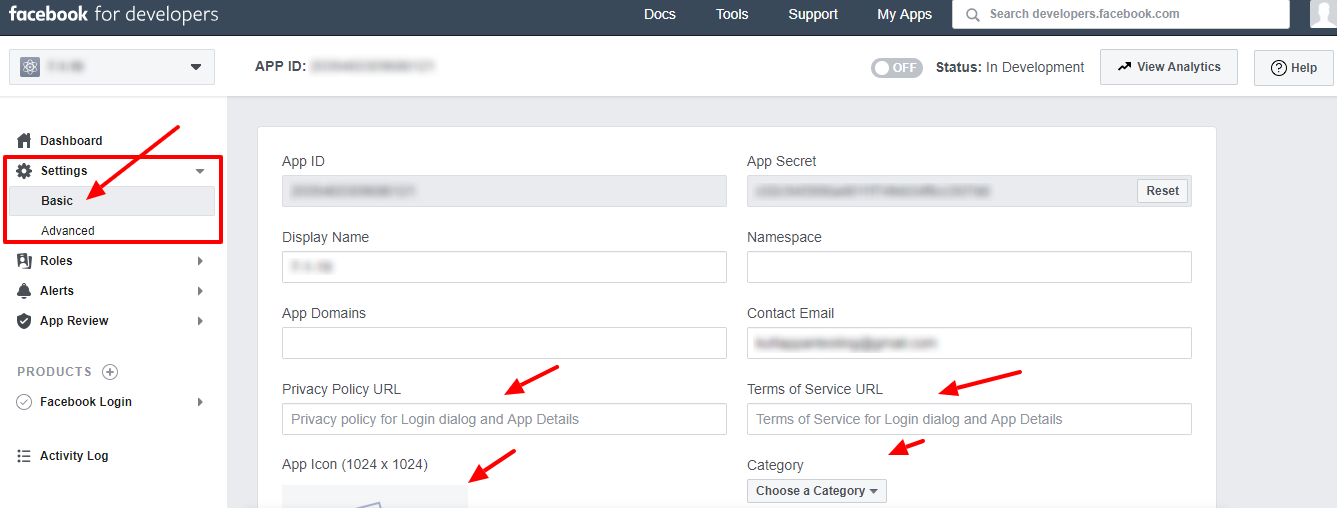
Copy App ID & App Secret.
Add Privacy Policy URL, Terms of Service URL, and select Category (Business and Pages)
Section 2: Facebook App for Instagram Review
- If your app is used only by individuals with a role on it, Standard Access for permissions and features is sufficient.
- For auto-posting to Instagram, Standard Access with the app in Live mode is enough.
- For other use cases like configuring app for multiple users or clients, you may need Advanced Access, which requires business verification and app review as per Facebook’s policy updates.
Steps for Business Verification & App Review:
- Complete business verification to request Advanced access .
- Follow the step-by-step guide here: Business Verification Guide.
- Submit the app for approval to make it public and allow users to see posts on Facebook.
- Refer to the App Review Process Submission sample: App Review Guide.
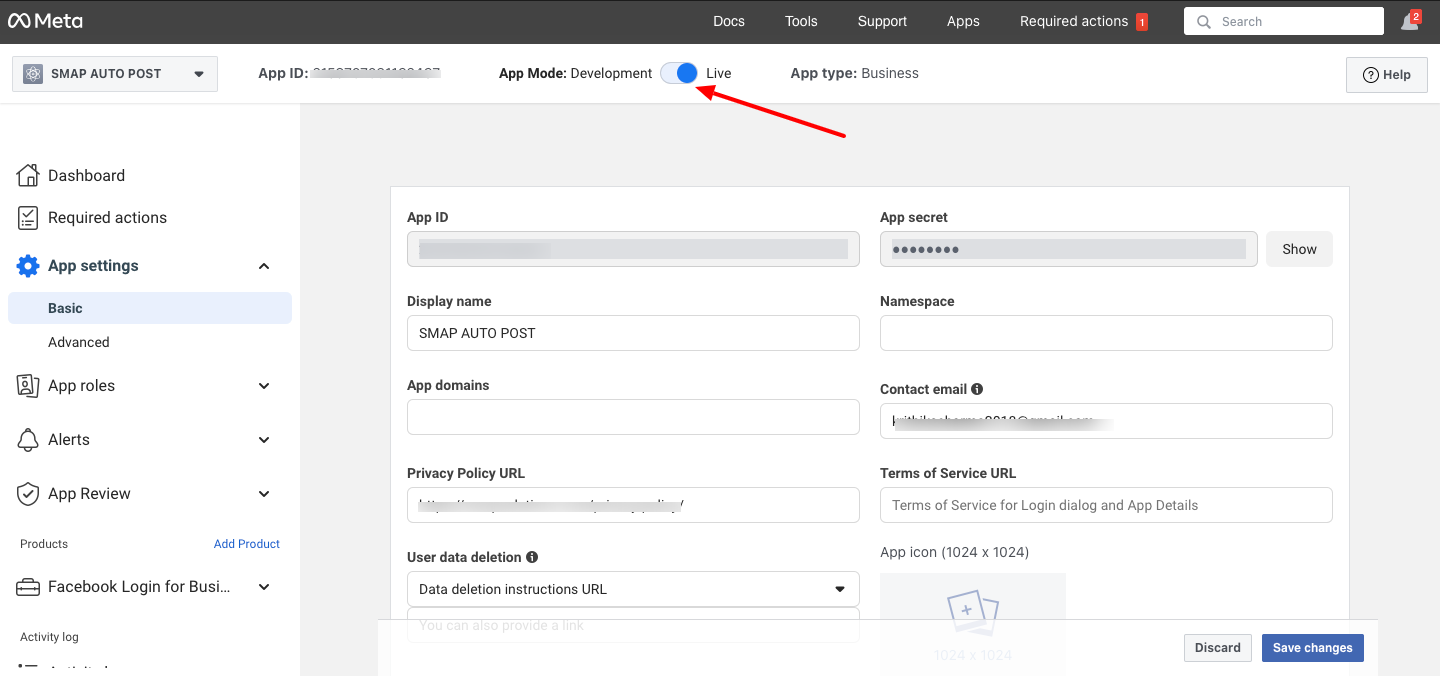
Making the App Live: Standard Access vs. Review Approval
- For users with role on app, Standard Access is suffice and after entering all these fields they can make the app live.
- For users opt for review after review approval make the app live
👉 If you find the process complex, check How can I use the alternate solution for publishing posts to instagram?
Section 3: App Authorization & Integration
Go to “Settings > Basic” to view App ID & Secret.
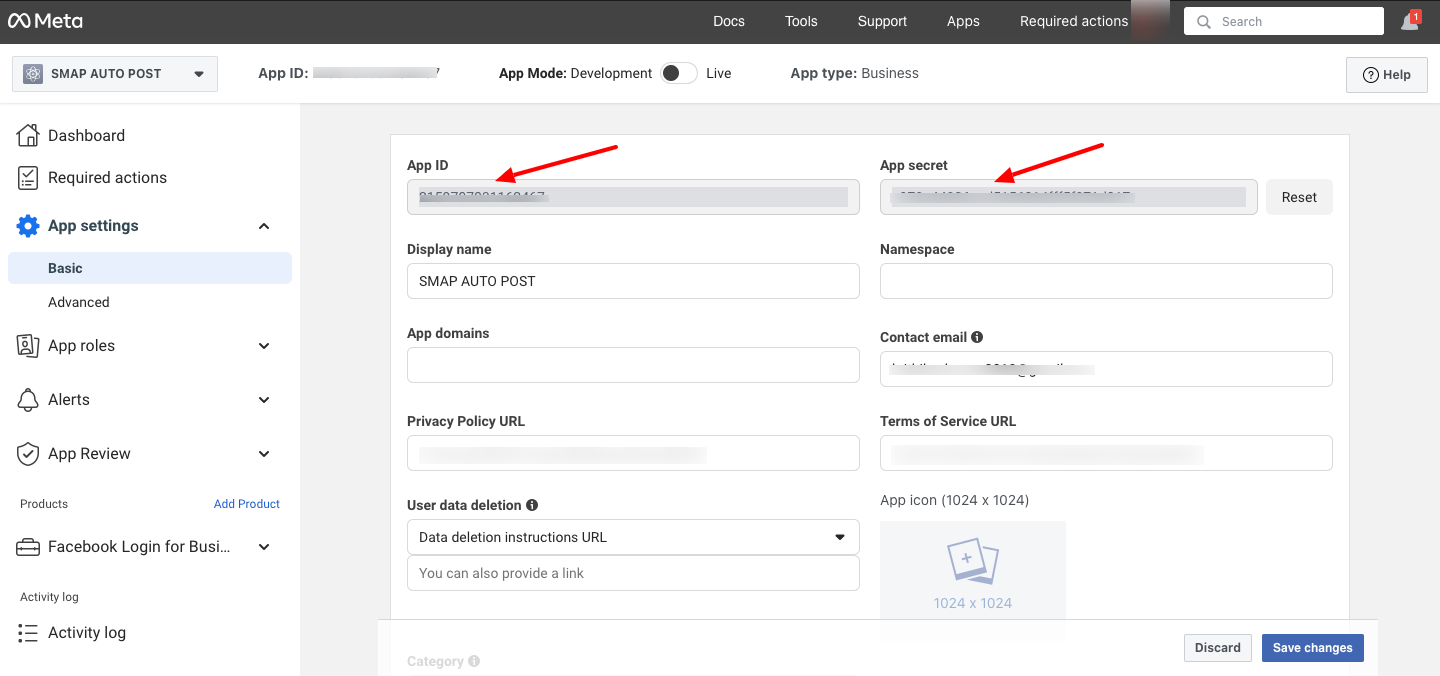
Viewing and Using Facebook App Credentials
- Copy the Facebook App Keys
- Enter these keys in the plugin settings on your site
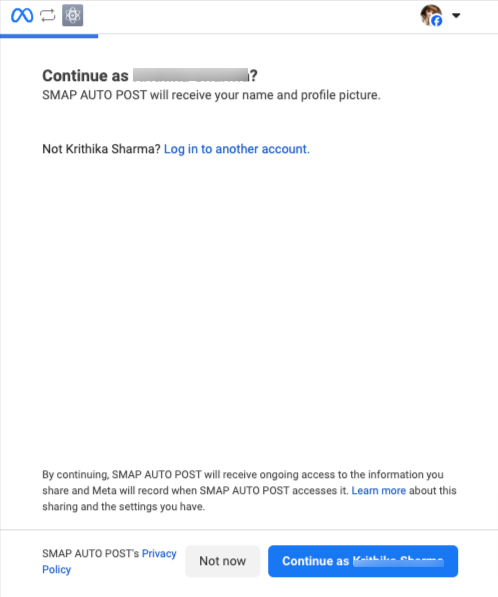
- After entering the keys on the Facebook settings page, click “Authorize”.
- The Connected Instagram Page and Instagram Business Account will be visible in settings only after authorization.
- Clicking the “Authorize” button will open a Facebook popup dialog for authentication.
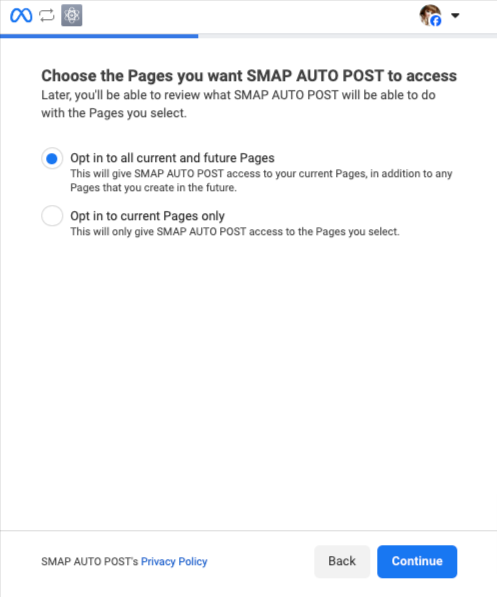
Select the Pages your app can access or auto-publish to:
- Opt in to all current and future Pages(This will give app access to your current Pages, in addition to any Pages that you create in the future.)
- Opt in to current Pages only(This will only give app access to the Pages you select.)
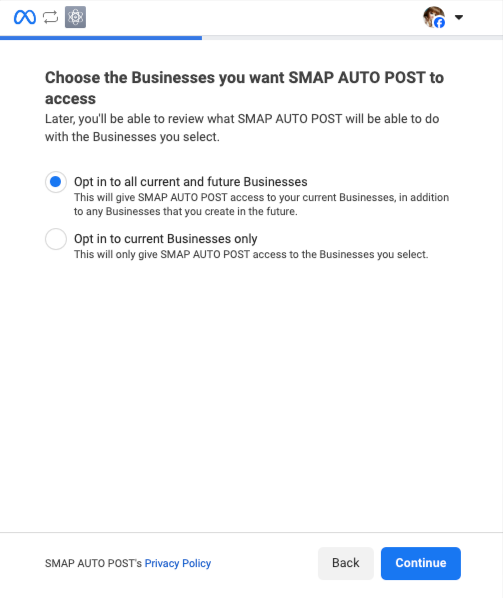
Select the businesses you want the app to access.
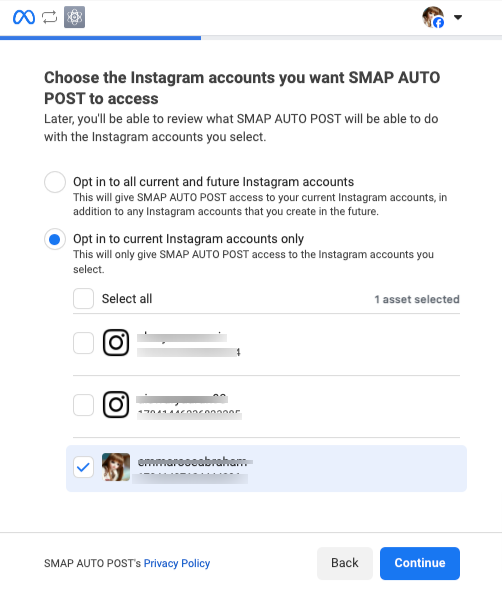
Choose the Instagram accounts you want SMAP AUTO POST to access
- Opt in to all current and future Instagram accounts(This will give *app* access to your current Instagram accounts, in addition to any Instagram accounts that you create in the future.)
- Opt in to current Instagram accounts only(This will only give *app* access to the Instagram accounts you select.)
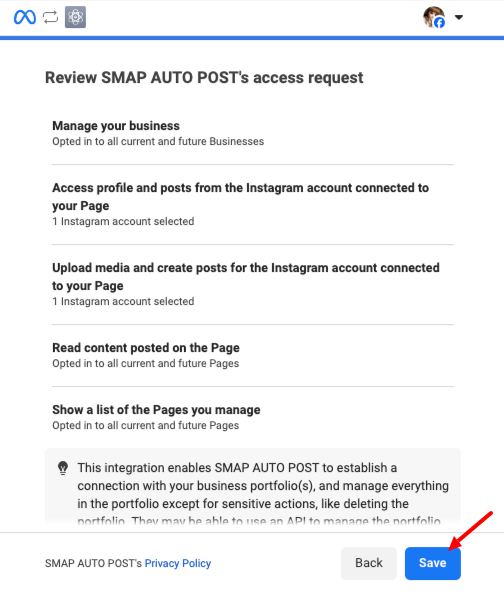
Review the details and click ‘Save’.
Click ‘Got it’ to complete the authorization flow.

After authorization, you can view Connected Instagram Pages & Business Accounts.
Select the page for auto-publishing to Instagram.

Note: If you find it difficult to configure, you can opt for an alternate paid solution and the details are available in
How can I use the alternate solution for publishing posts to instagram?