Twitter Settings
To create a new twitter account in the plugin, click on the “Create New Account” button.
You have to create a Twitter application before filling the twitter settings fields.
To create a new Twitter application please follow the link
Specify your website for the application. This is given in the settings page.
In the twitter application, navigate to Settings > Application Type > Access. Here select Read and Write option.
After updating access, navigate to Details > Your access token in the application and click Create my access token button.
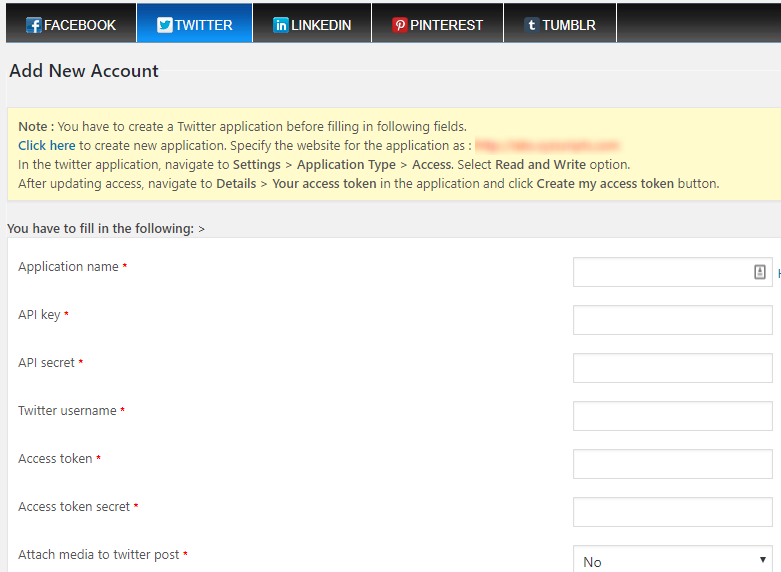
- Application Name – You can enter the name of your application here.
- API Key – Here enter the API key from twitter application.
- API Secret – Enter the API secret here.
- Twitter username – Enter your twitter username here.
- Access token – Here you can enter the twitter application access token.
- Access token secret – Enter the access token secret here.
- Attach media to twitter post – If you want to attach images or video with the twitter post, use this option.
Override Publishing Settings
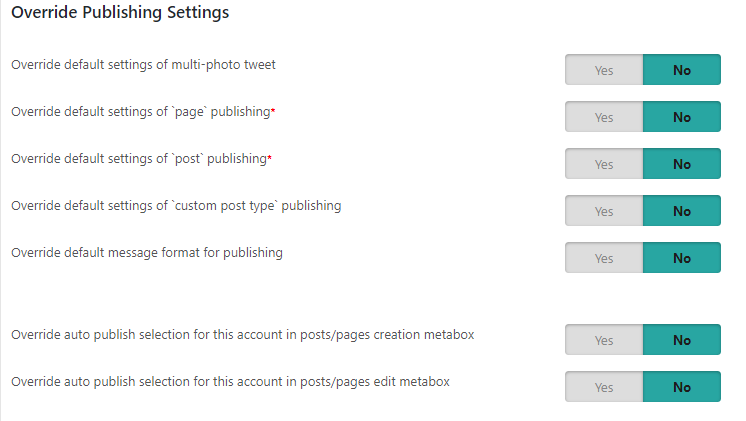
- Override default settings of multi-photo tweet (Available only if we select image in the attach media section)- We can enable or disable the multi photo option here.

- Override default settings of `page` publishing – We can override the page publishing option and publish or don’t publish pages here.

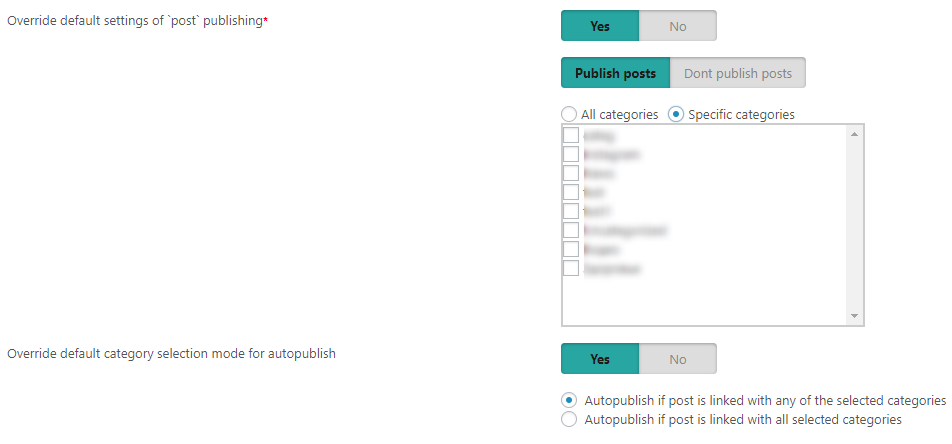
- Override default settings of `post` publishing – We can override the post publishing option and publish or don’t publish posts here. We can also select the category here if required.
Note: If you are selecting specific category, we can select the ‘category selection mode’.
- Override default settings of `custom post type` publishing – We can override the custom post type publishing option here.

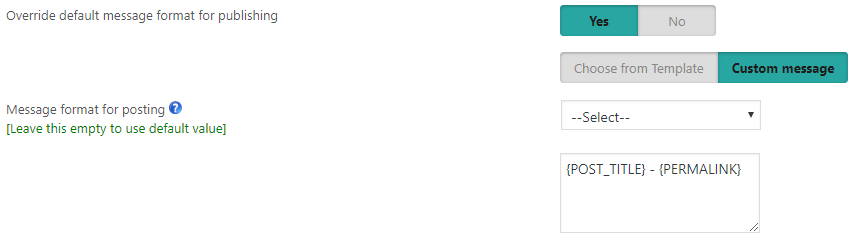
- Override default message format for publishing – Here we can override the message format. We can use
1. message from template

2. custom message
- Override auto publish selection for this account in posts/pages creation metabox – Override this account’s auto selection option in the metabox while creating the post or page.
- Override auto publish selection for this account in posts/pages edit metabox – Override this account’s auto selection option in the metabox while editing the post or page.
Override Scheduling settings (Applicable only if the scheduling is enabled in the settings page)
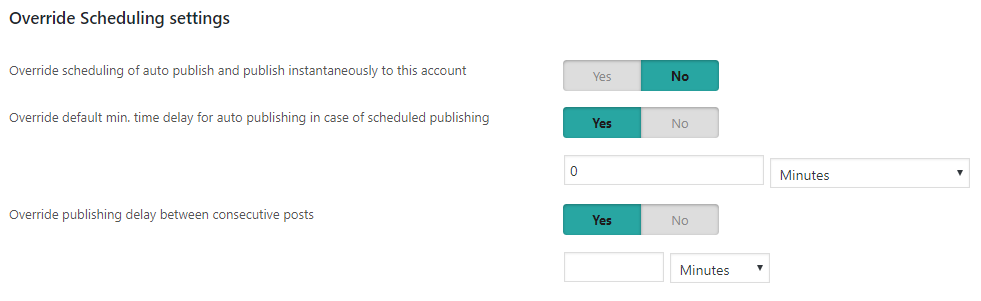
- Override scheduling of auto publish and publish instantaneously to this account – We can override the scheduling option and use the instantaneous publishing of this account.
- Override default min. time delay for auto publishing in case of scheduled publishing – We can setup a minimum delay for each social media account in case of scheduled publishing and so it will publish after the delay to that social media.
- Override publishing delay between consecutive posts – We can override the delay between consecutive posts.
After creating the new account, please click on the “Save” button.