Facebook Settings
Please note that we need to submit the facebook app for approval and we can use the facebook app, only after getting the approval. The app submission details are available in
How can I create Facebook application?
We have introduced an alternate app smapsolutions and it is a paid service starts from USD 10 per year.
So there are 2 options, use the free facebook approved API or use the smapsolutions app.
If you are using the facebook approved free API, we can use it in https sites only.
On the Facebook settings page, we can add new accounts and can manage the existing accounts
In the Facebook tab, we can see and create Facebook accounts. Click on the “Add New Account” tab to create a new account.
The Facebook settings are given below.
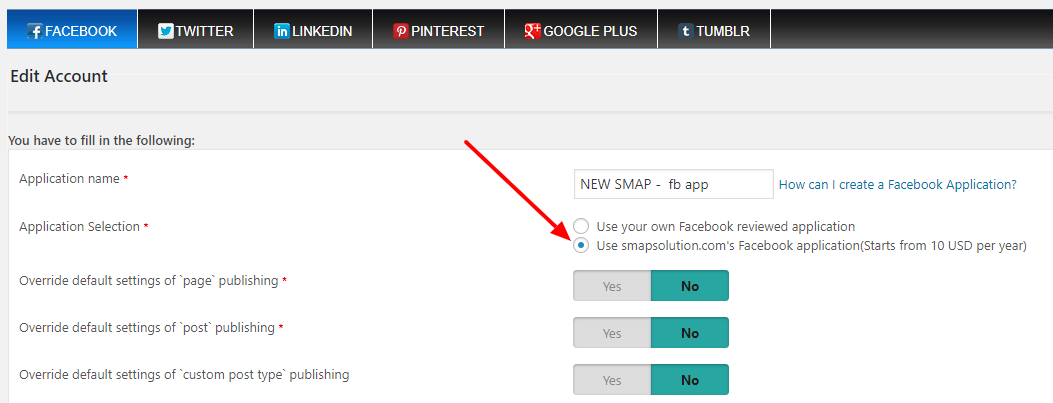
There are 2 options for using the Facebook app.
- You can use your own Facebook app which is reviewed and approved by Facebook.
- Use smapsolutions app (This is a paid feature and the price starts from USD 10 per year)
If you are using the first option, you have to create a Facebook application before filling in the Facebook settings details.
To create a new Facebook application follow the link
On the application page on Facebook, navigate to Apps >Add Product > Facebook Login >Quickstart >Web > Site URL.
Set the URL of your site as the Site URL.
From the Facebook application, you will get the application id and application secret. Enter these values in the space provided.
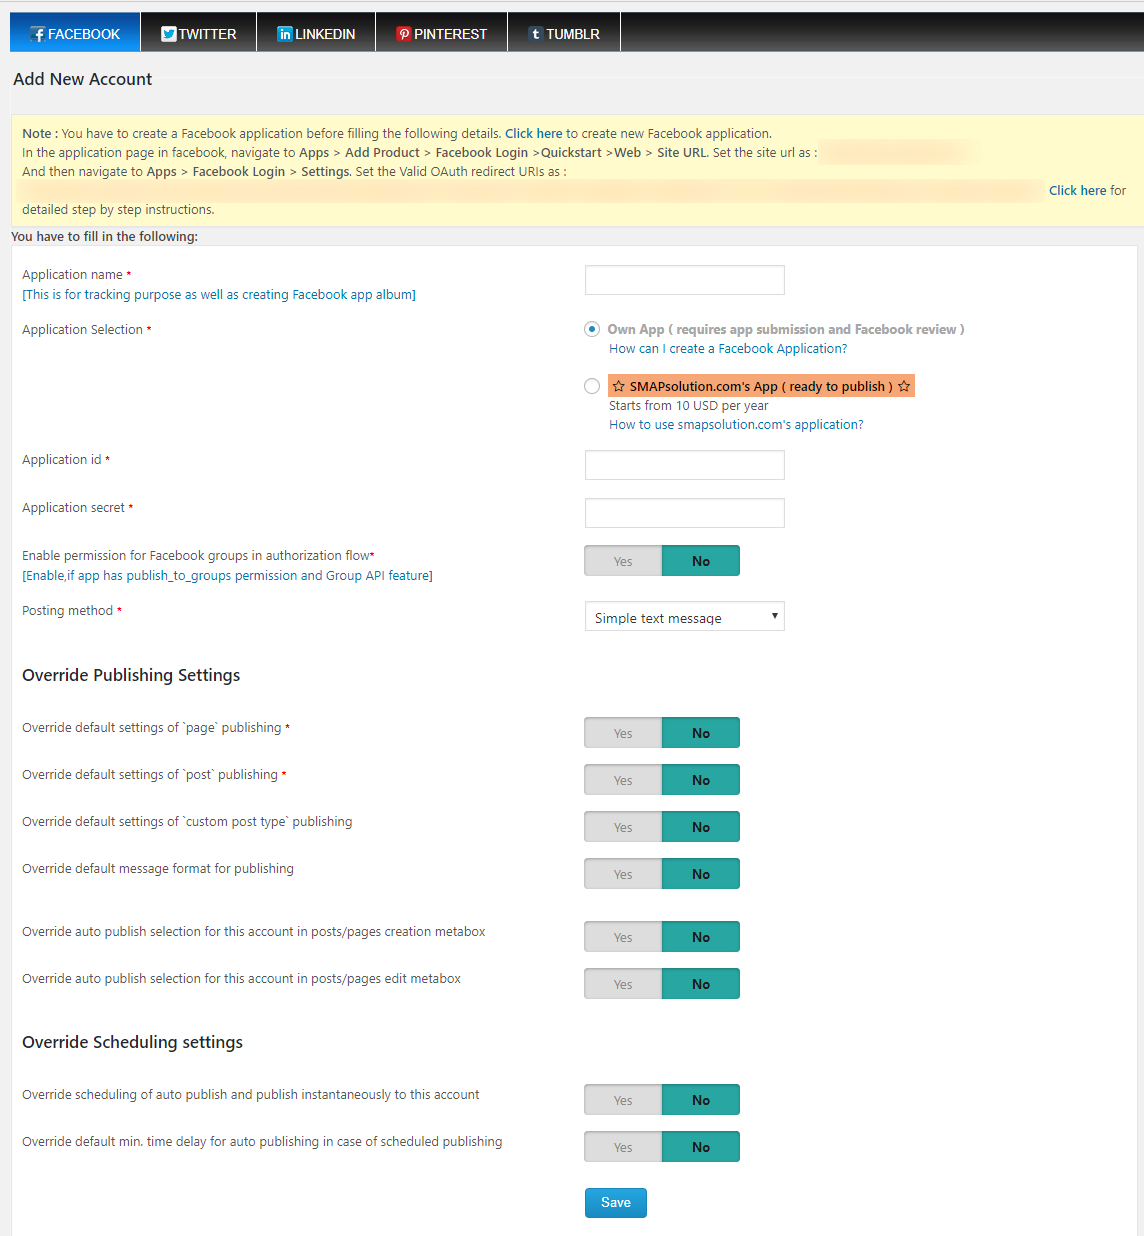
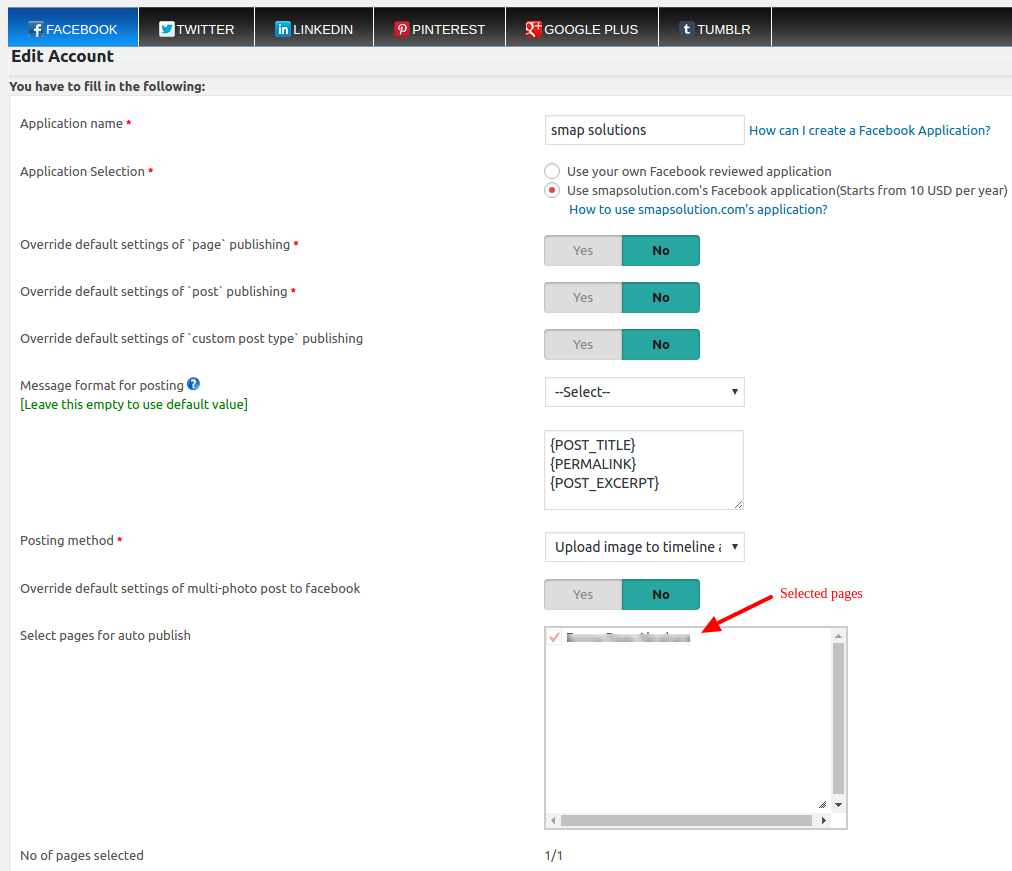
- Application Name – You can enter a name for your application here.
- Application Selection – Here we can select the free Facebook approved own app API or the paid alternate solution smapsolutions app.
- Application id – Enter the application id from the Facebook application here.
- Application Secret – Enter the Facebook application secret here.
- Posting Method – We have 6 posting methods
- Simple Text Message – We can add simple text messages to our Facebook account with this option.
-
Text Message with Image – Here we can add text and images to Facebook. We have 2 options for this method.
- Upload image to app album – Here we have an album for the app and all the uploaded images are present in this album. All our post images are available in this album. For the first 2 images, we do not have an album option. From the third image, all our images are in the app album.
- Upload image to timeline album – We can upload the image to the timeline using this method. Here we can see the text and related images in the timeline. This option is available if your profile has a timeline album.
- Text Message with Attached Link – Here we can add text with an attached link on Facebook. We have 2 options here.
- Attach your blog post – Using this option we can attach the blog post with a Facebook post.
- Share a link to your blog post – Using this option we can have the option of “Share” with the Facebook post.
- Text Message with Video – If you want to publish your video to Facebook, please use this option.
Override Publishing Settings
- Override default settings of `page` publishing – You can use the default setting for publishing wordpress pages or override the default settings.

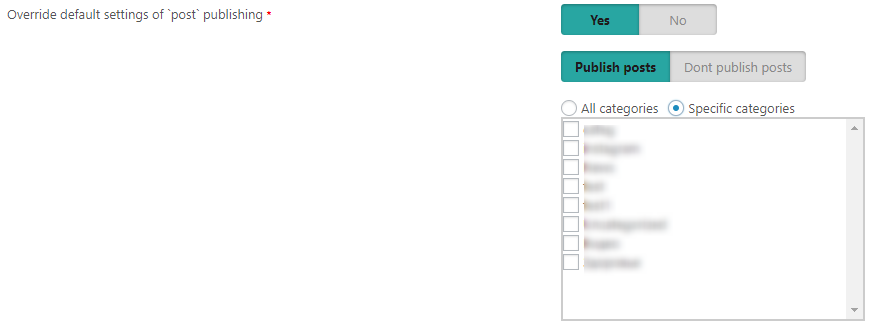
- Override default settings of `posts` publishing – You can use the default setting for publishing WordPress posts to categories or override the default settings and change the category.
Note: If you are selecting a specific category, we can select the ‘category selection mode’.
- Override default settings of `custom post type` publishing – You can use the default setting for the WordPress custom post types or select a particular custom post type for the Facebook account.

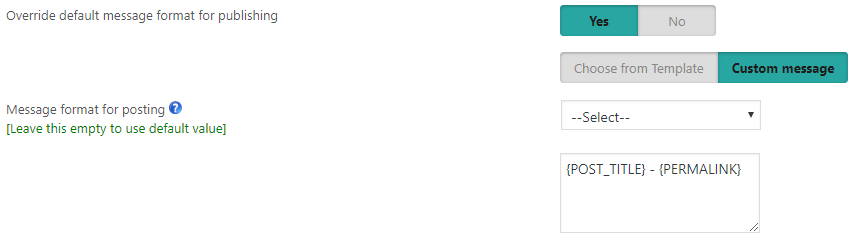
- Override default message format for publishing – Here we can override the message format. We can use
1. message from template

2. custom message
- Override auto publish selection for this account in posts/pages creation metabox – Override this account’s auto selection option in the meta box while creating the post or page.
- Override auto publish selection for this account in posts/pages edit metabox – Override this account’s auto selection option in the meta box while editing the post or page.
- Enable multi-photo post to facebook (Applicable only with the posting method “upload image to app album” and “upload image to timeline album”) – Here we can use the default settings or override the default settings.
- Override link to be attached (Applicable only with the posting method “attach your blog post” and “share a link to your blog post”) – If you override, the first link obtained from the message format will be used instead of {PERMALINK} of the post. If no link is obtained, then the first link from the post description will be used.
Override Scheduling settings (Applicable only if the scheduling is enabled on the settings page)
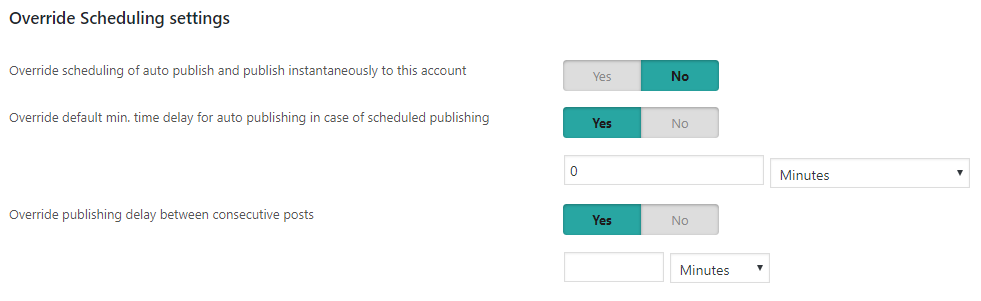
- Override scheduling of auto publish and publish instantaneously to this account – We can override the scheduling option and use the instantaneous publishing of this account.
- Override default min. time delay for auto publishing in case of scheduled publishing – We can set up a minimum delay for each social media account in case of scheduled publishing and so it will publish after the delay to that social media.
- Override publishing delay between consecutive posts – We can override the delay between consecutive posts.
After creating the new account, please click on the “Save” button.
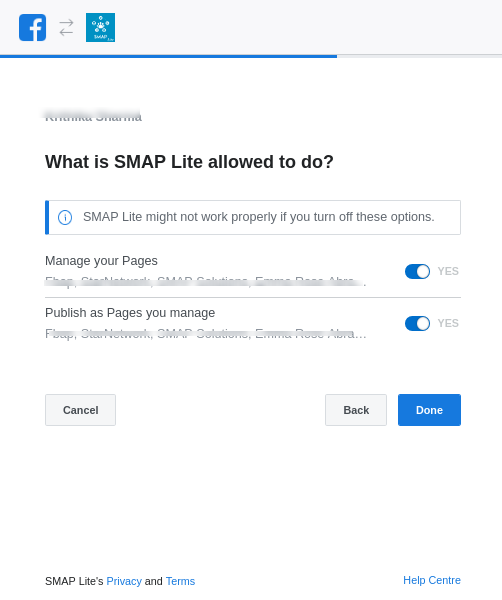
It will ask for some permissions. Click ‘Okay’ to continue.
Authorization step 1:
Authorization step 2:
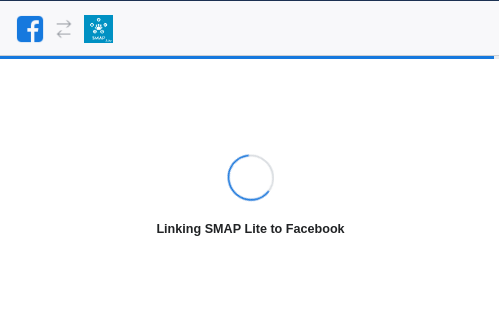
Authorization step 3:
Authorization step 4:
Authorization step 5:
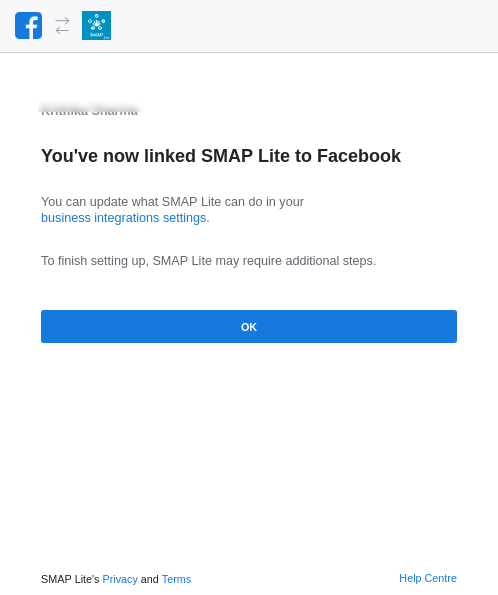
Now the Facebook app is authorized.
Now you can select the page where you want to display the post and also the Facebook groups that you manage and click ‘Save’. For publishing to Facebook groups, you need to connect the app to the group. More details are available in How can I add or remove an app from a group that I manage?
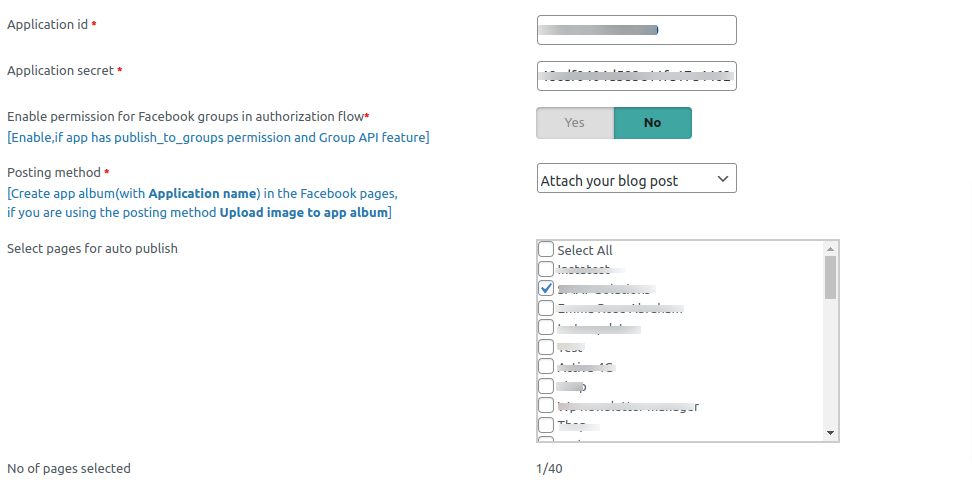
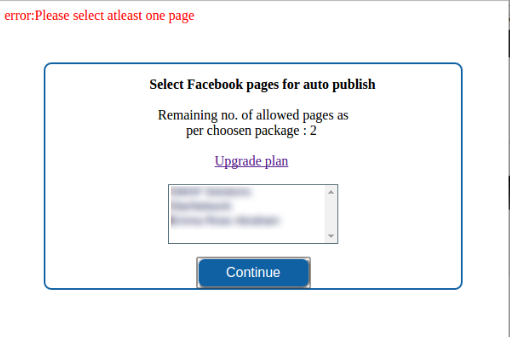
- Select facebook pages for auto publish – You can select the Facebook pages where you want to publish the blog posts. If you have different Facebook pages and profile pages, you can select where you want to publish the blog post.
- Publish to Facebook Group – If you want to publish to a Facebook group, please select this option.
- Select groups for auto publish – You can select the Facebook groups that you own where you want to publish the blog posts.
Note 1: You can see this option (Select Facebook pages for auto publish and Select groups for auto publish) only after authorizing the Facebook account. The first time when you enter the values, this field is not available. After entering the values, you need to authorize the FB account and then you can see the Facebook pages and groups for auto publish.
Note 2: While authorizing, please make sure that you have entered the correct Facebook keys and details. If any of the value is incorrect, it won’t authorize the account.
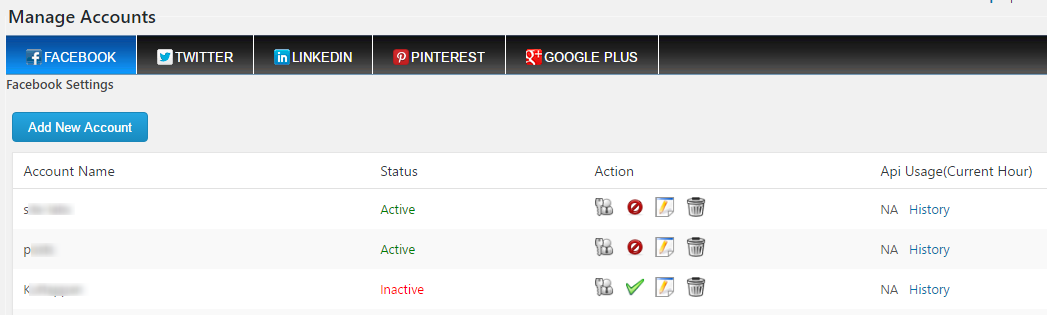
You can see all your fb accounts in the manage section.
You can do the actions by clicking on the respective button.
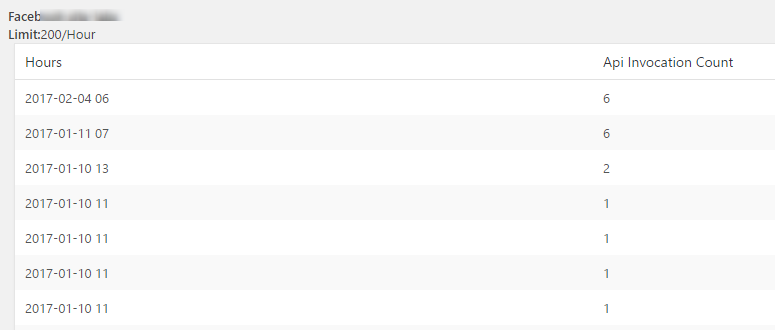
Also, we can see the API usage of the FB app in the manage accounts section and also the previous history.
Here we can see the API usage of the current Hour. To see the history, please click the History link.
The steps for using the already approved app – Smapsolutions app
Please select the approved app option.
Please enter other details and save it.
Now click on the reauthenticate button.

It will display a popup and log in to your FB account.
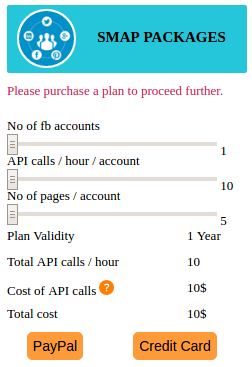
Now you can purchase the SMAP Package. The price depends on the number of Facebook accounts and API calls per hour per account.
For publishing a simple text message, it will take 1 API call, the Upload image option will take 2-3 API calls, and attach link option takes 1-2 API calls.
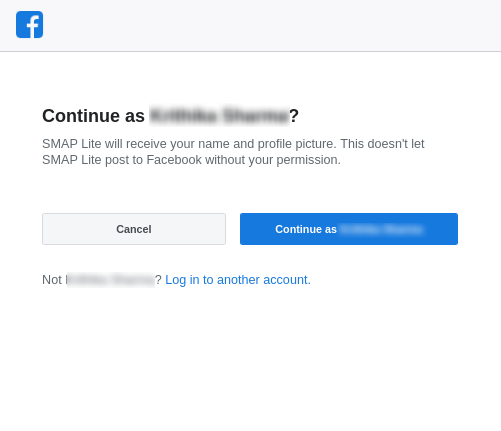
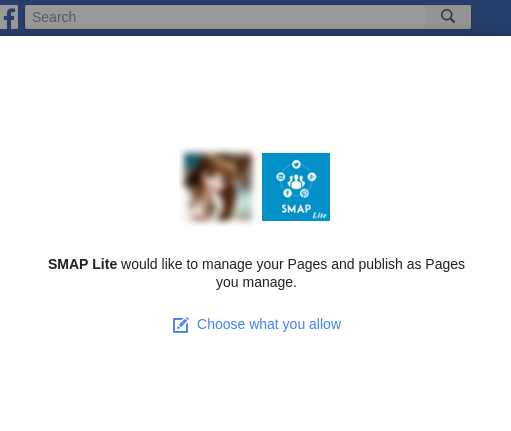
After purchasing a package and successful payment it will redirect to Facebook authorization flow.
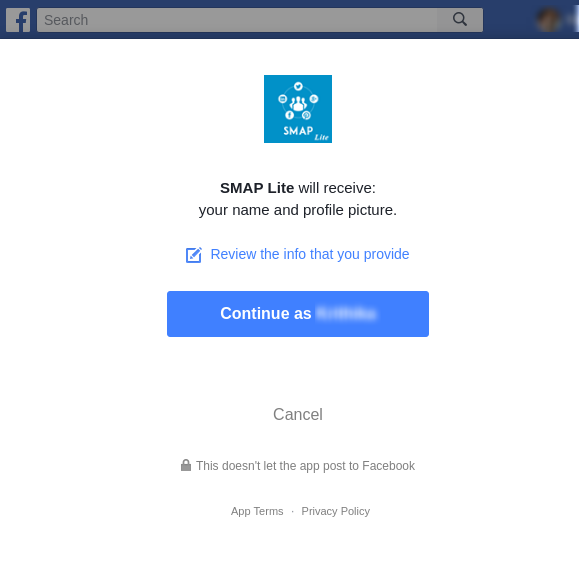
Now click on the continue button.
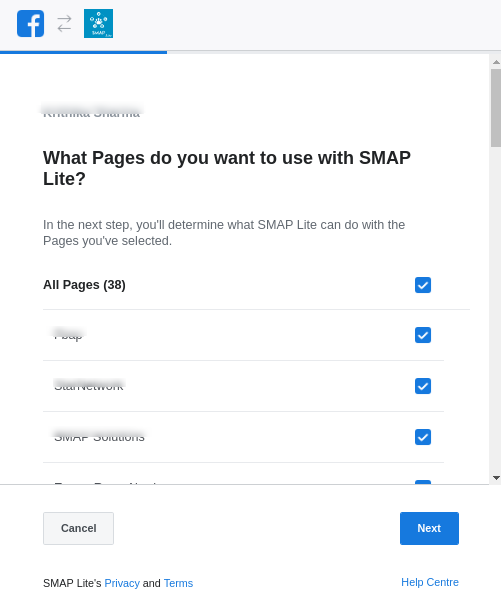
Click the Next button or choose the fb pages.
After Facebook authorization is completed, Facebook pages will be listed.
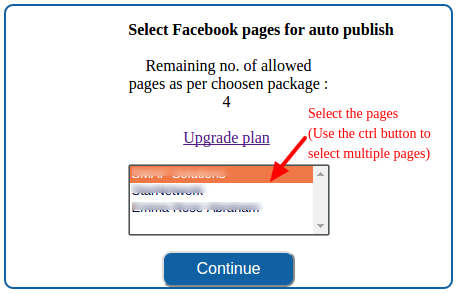
Select pages and click the continue button, it will redirect to the edit-account page, where the selected pages are displayed.
Now save the account and it is ready to publish to the selected fb pages.
Error cases on the authorization procedure
- Click on continue without selecting pages