In this section we can import and export the contact information.
3.a. Import Emails from MySQL
If you have a list of email addresses and contact information in your database, we can import the data to XYZ email manager using the “Import emails from MySQL” option.
Select the list name and enter the database details, where the emails are present, and we can import the data to our email list. (Figure 3.a.1)
Here you need to enter the host name, database name, username and password of the database with table name and email field name. You need to add the custom field name also if you want to import those details with the email address.
There is also a field ‘Batch Size’ with the operation. It allows you to import data in batches. If there are lots of data in your database, it will take more resources like CPU usage, RAM usage and time to import all the data in a single stretch. This is harmful to your system. In such a condition you can import the email addresses in batches of convenient size.
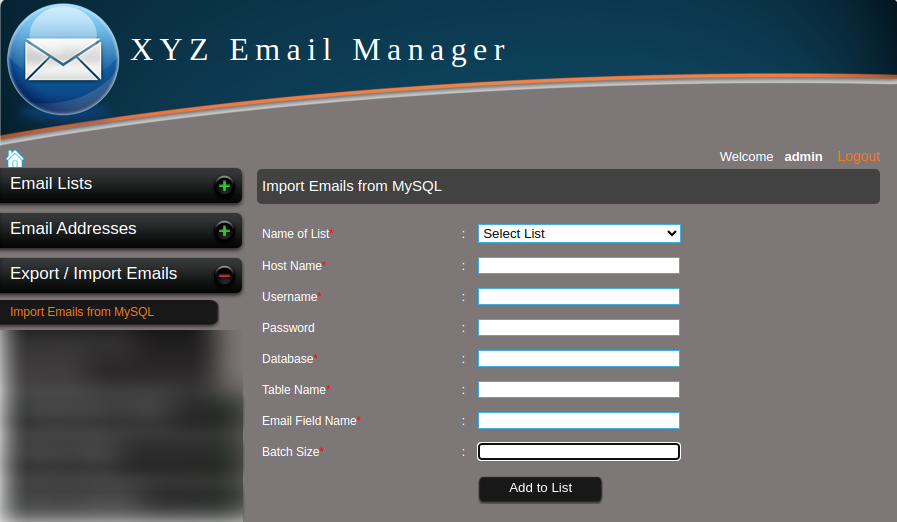
Figure 3.a.1 – Import Emails from MySQL Database
3.b. Import Emails from File (Text or CSV file)
You can import email addresses from a text or csv file.
Select the list to add the email addresses, choose the file to extract, set the number of lines (batch size) to be extracted in a single process , select the fields to import, enter the separator and enclosing character. (Figure 3.b.1)
Separator character is the character used to separate 2 fields in a line.
Enclosing character is the character used to enclose the fields.
(Example: Consider the data is displayed in the following format in a .txt file.
“[email protected]”,”Name”
Here the enclosing character is ” and the separator character is , )
If you have 10,000 emails in the file and set the number of lines as 1,000, it will extract 1,000 emails in a single step and import all the emails in 10 steps. This will help you to decrease the system resource usage like CPU usage, RAM usage etc.
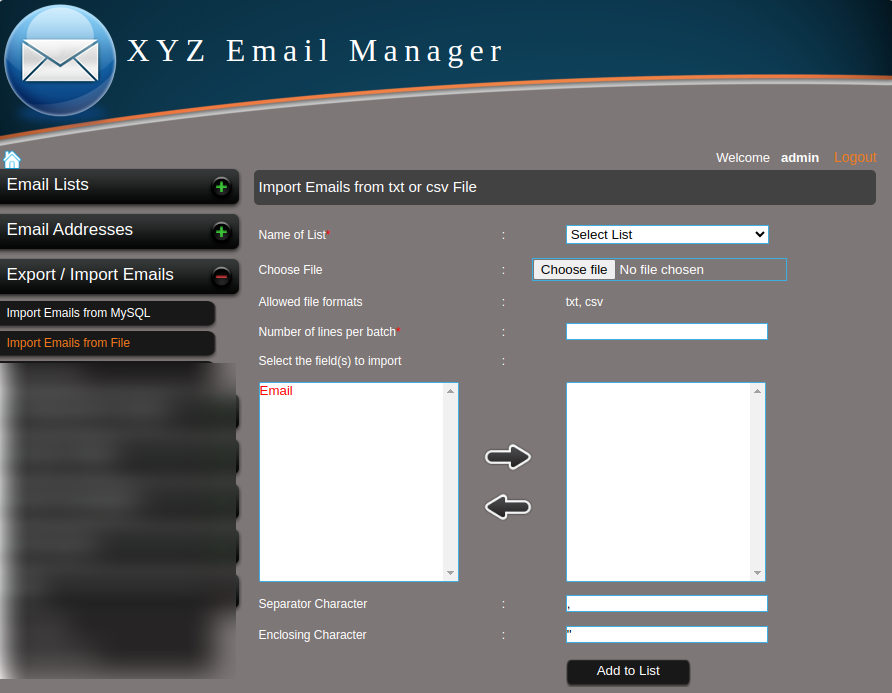
Figure 3.b.1 – Import Emails from a csv/text file
3.c. Export Emails
You can backup the data or export the emails using the “Export Emails” option.
In this option, you can export the data as a csv file. You can use this csv file as a back up or for future use. (Figure 3.c.1)
Here you can select the fields to export, enter the batch size to reduce the system resource and click export. (Figure 3.c.2)
Consider you have 10,000 emails in your system and you have used the batch size 1,000. It will export 1,000 emails each in 10 steps and finally you will get a single csv file containing all the 10,000 emails. Now save this file. (Figure 3.c.3)
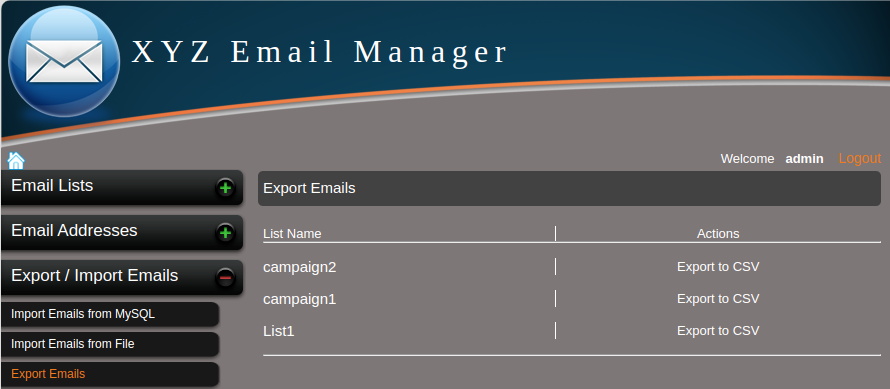
Figure 3.c.1 – Export Emails to CSV
Click the export to CSV of a list (Step 1)
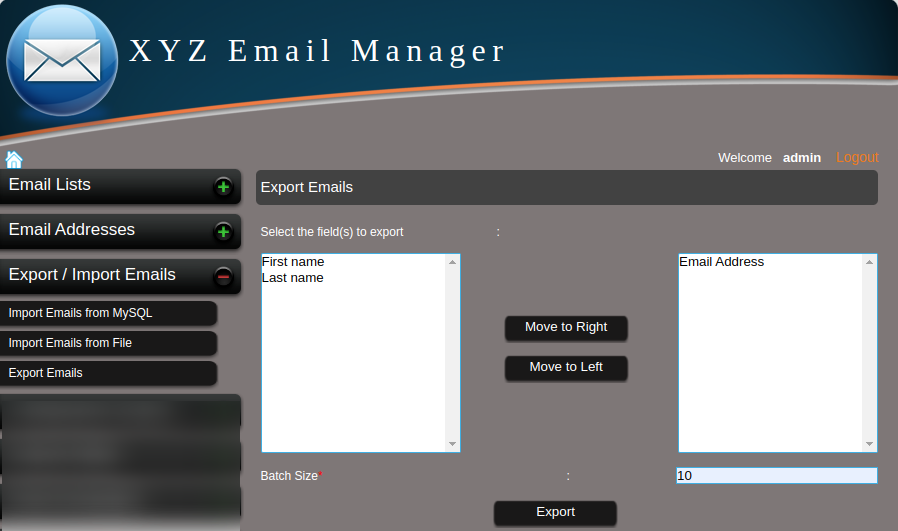
Figure 3.c.2 – Export Emails to CSV (Step 2)
Select the field to export and move to right, select the batch size and click Export
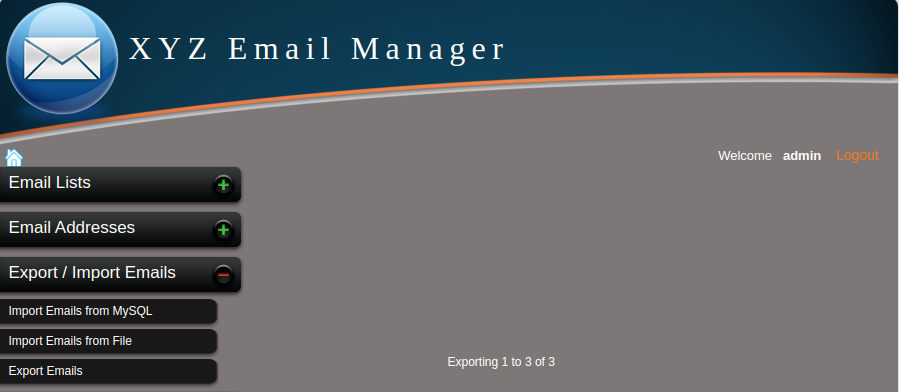
Figure 3.c.3 – Export Emails to CSV (Step 3)
Save the csv file after the exporting is completed.