These are the basic configuration settings.

In the Settings, the first one is Configurations. The details of the Configurations Settings are given below.
There are different tabs for different settings. These different settings are General Settings, Item Settings, Premium Settings and Email Settings.
General Settings:
The General Settings details are given below.

Engine name : This is the name of your classifieds site.
Public page logo : You can add a logo here. This logo will display in the header of the site(in public side only).
Minimum password length : This is the minimum length of the password.
Enable automatic registration : If this option enabled, it allows the user to register automatically by just entering only the email address. Otherwise the user need to register by entering a password.
Enable Category Price : We can enable the category price here. If this option is enabled the price field is present by default for all the categories. (If you do not want the price field for certain categories, you can disable the price field in the individual categories.)
WildCard DNS enabled : This is a special setting to enable subdomains of the site based on city. If the selected city is ‘Chicago’ the site address become “chicago.yoursitename.com”.
Enable Search Suggestion : We can enable the search suggestion option here. If enabled, it will display suggestions in the search field.
Display Popular Search : If this settings enabled, we can display the popular searches in the home page.
Rate & Review Option : Admin can enable the option of rating and review and item here.
Display Recently Viewed Items : If this settings is enabled, the user can see the recently viewed items.
Display categories having no subcategories in Home Page : We can display categories having no subcategories in the home page by enabling this option.
Subcategory count in Home Page : We can set the subcategory count in home page here.
Display option if more subcategories present : Consider we have 8 subcategories and we are displaying only 5 subcategories in home page. We can display the other 3 in 2 formats. With a ‘more’ link or using a scroll bar.

Home Page Category Display : Here we can display the Parent category only in the home page or parent and child categories.
Default Country for the visitor : This is the country displayed initially to a visitor. Use the auto detect to automatically select the country of the visitor.

Paypal Email : This is the paypal email of the admin. Admin will get all payments to this paypal id.
Paypal Currency : This is the paypal currency used by the admin (eg: USD). We can use only the currencies supported by paypal.
Currency Symbol : This is the symbol of the currency you are using (eg: $ for USD, € for EURO etc.)
Currency Position : This is the position of the currency symbol. You can use it as prefix (eg: $100) or suffix (eg: 100$)
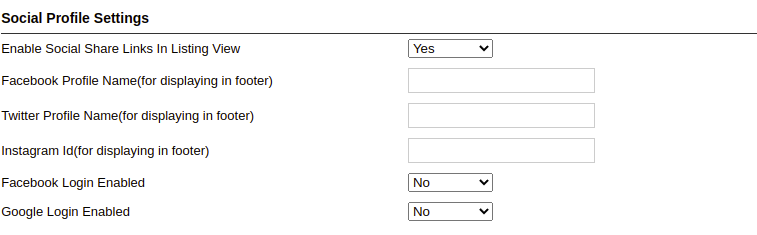
You can connect your users with your social media links. For this you need to add your social media links here
Enable Floating Social Promotion Links On Left Side : We can display a floating social links in the left side of the site by enabling this option.
Facebook Profile Name – This is your facebook profile name
Twitter Profile Name – This is the twitter profile name
Google Plus Profile Id – This is the google plus profile id
Enable Social Share Links In Listing View : We can display the social links in the listing page by enabling this option.
Facebook Login Enabled : By enabling this option, user can login with their facebook account.
Facebook Application Id : Enter your facebook application id here
Facebook Secret Key : Enter the facebook secret key here
Google Login Enabled : Enable this option to allow users to login with their google account.
Google Client Id : Enter the google client id here.
Google Secret Key : Enter the google secret key here.
Google Developer Key : Enter the goole developer key here.
To create the google api keys please check the link

Enable captcha verification : If enabled, it will display a recaptcha verification (image verification) during registration process and when sending a support ticket to admin.
When enabled, you need to enter the recaptcha public key and private key. You can generate the recaptcha keys from https://www.google.com/recaptcha/whyrecaptcha