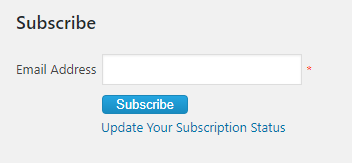
There are 3 methods for showing the opt-in form/ subscription form in your public page:
- Widget
- Short Code
- HTML Subscription code.
In the opt-in page, we can see all the opt-in forms we have created.

It contains the opt-in form name, the short code of the form, link for the html code, status and action.he
You can use the short code in your wordpress pages and posts to display the opt-in form (subscription form). Using the HTML code, you can display the opt-in form in template files or other files where the short code is not working.
For this click on the HTML Code Image.
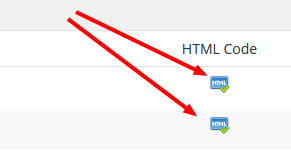
You can see the shortcode, html code and the widget option with a preview of the form.
We can activate or block the form by clicking on the following image links.
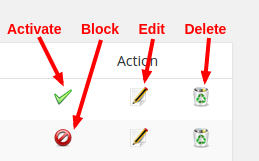
Activate – Click on this image to activate the opt-in form.
Block – Click on this image to block an opt-in form.
Edit – We can edit the opt-in form by clicking on the link
Delete – To delete the form, click on this link
Click on the “Add opt-in form” button to create a new opt-in form.
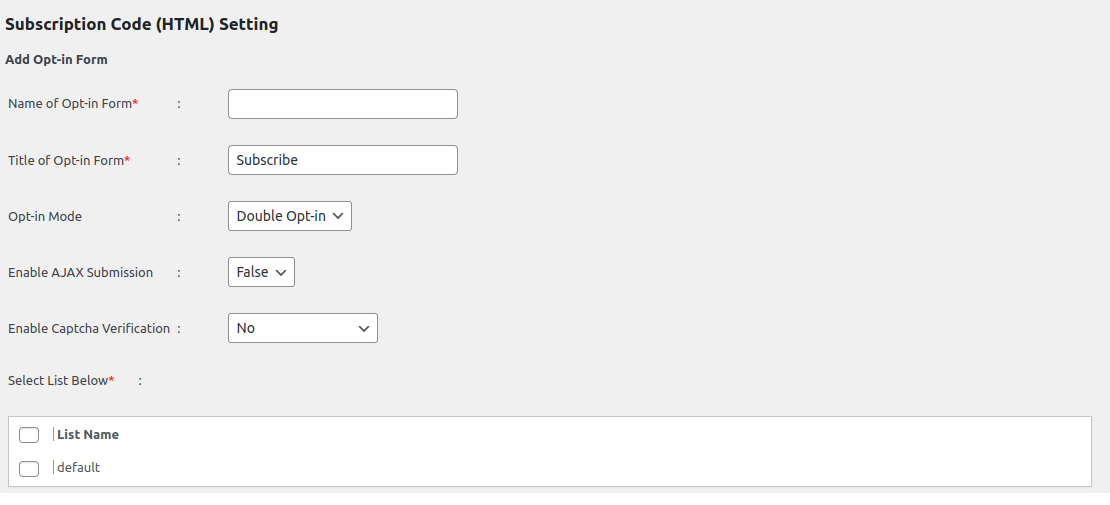
Name of opt-in form : This is the name of the opt-in form for admin reference.
Title of opt-in form : This is the title of the form and is displayed as the title in the subscription form in site.
Opt-in Mode : We have 2 opt-in modes, single opt-in and double opt-in.
In the single opt-in, the email is active on subscription. In the double opt-in mode, the system will send a confirmation mail on subscription. The email is active only after confirming the subscription.
Enable AJAX submission : If you want to display the subscription success message in the form itself, please enable the AJAX submission. Otherwise the message will display in a new page.
Enable Image Verification : We can enable the image verification (captcha) in the subscription form by selecting this option.
Now select the email lists, you want to add the email address.
Then select the custom fields with order and mandatory requirements.

Now select the subscription mode. If you have selected more than one email list, you can add the info to all the email lists or allow users to enter their details to multiple list or in a single list.
You can also enter the path to be redirected after subscribing to the list and email confirmation.
The widget is available in the Appearance -> Widget section of your WordPress admin area.
The name of widget is XYZ WP Newsletter. You can drag the widget to appropriate location.
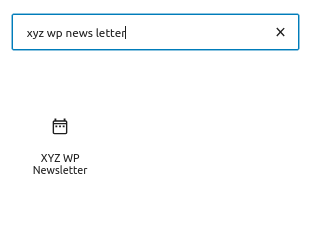
In the widget section we can select the opt-in form.
Opt-in Form
A simple subscription form with image verification (Captcha) is given below.
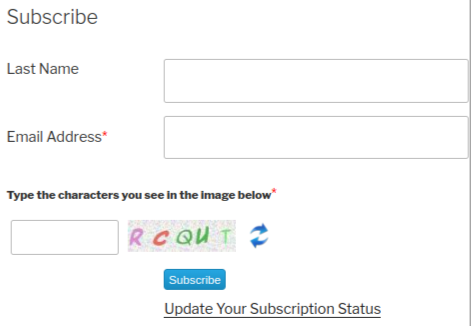
With the new GDPR, the update email preference link is added in the opt-in form.
