Installation of Premium Plugin
- Download the latest version from XYZScripts Member Area. (See the link How can I download the script/plugin? for more details)
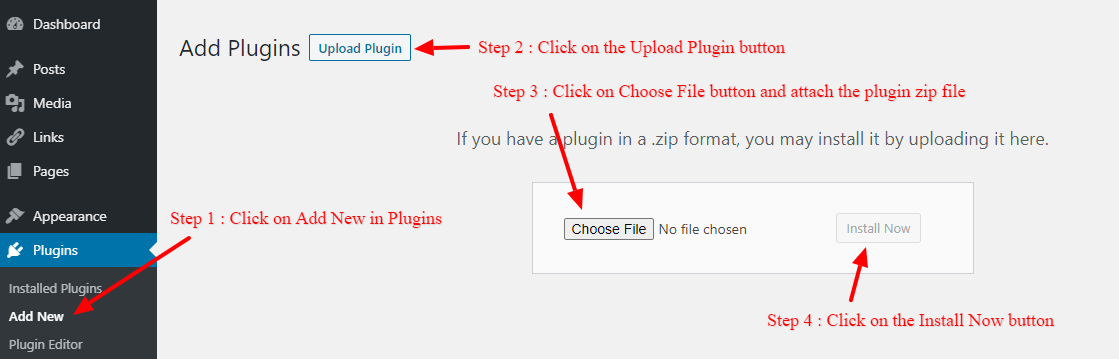
- Upload the zip pack through the plugins page or upload the folder to the plugins folder using FTP.
- Deactivate the free plugin. (Don’t delete the free plugin.)
- Now activate the premium plugin.
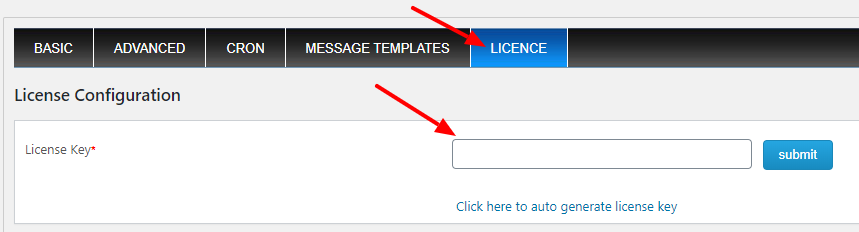
- It will ask to configure the license key. Please click on the configure license link or go to settings > license and it will ask to enter the license key. It will now display a popup to enter the xyzscripts member email id.
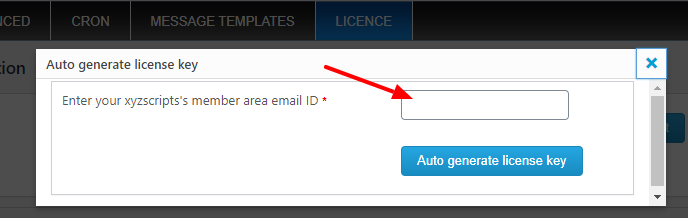
It will auto-generate the license key.
If the auto-generation of the license key is not working, you need to create the license key manually from the XYZScripts Member Area. More about generating the license key is available in How can I create the license key?
Now close this popup and you can enter the license key in the license key section.
- The premium plugin is now ready to use.
Instructions for updating the premium plugin from an older version
- Click on the update available link on the plugins page and follow the instruction. It will update the plugin automatically.
- After updating the plugin, deactivate the plugin and then reactivate it.
In some cases, if the ioncube loader is not present in your server, it will not update automatically. In such a case please use the following instructions
- Download the latest version from XYZScripts Member Area. (See the link How can I download the script/plugin? for more details)
- Unzip the plugin pack and upload this to your site through FTP. (The upload through the wp-plugins page won’t work as the folder name of the old and new versions are the same.)
- After uploading all files using FTP, deactivate the plugin and then reactivate it.
- If there is an issue with the images or style, please clear the cache from the browser.
- Now the updated plugin is ready.