Linkedin settings are given below.
Note:Starting from August 1, 2023, “Sign In with LinkedIn” (SIWL) has been deprecated. For all new apps, it is strongly recommended to use “Sign In with LinkedIn using OpenID Connect.”
Existing apps that currently use “Sign In with LinkedIn” can continue without interruption. However, if you choose to transition to “Sign In with LinkedIn using OpenID Connect,” ensure that you add this option under your LinkedIn Developer App’s product section.
You have to create a Linkedin application before filling the linkedin settings details or use the smapsolutions app.
To create a new Linkedin application follow the link
In the application page in linkedin, enter the values in the required fields and set the url of your site as the Website URL. Also change the Live Status to Live, to display the posts publicly.
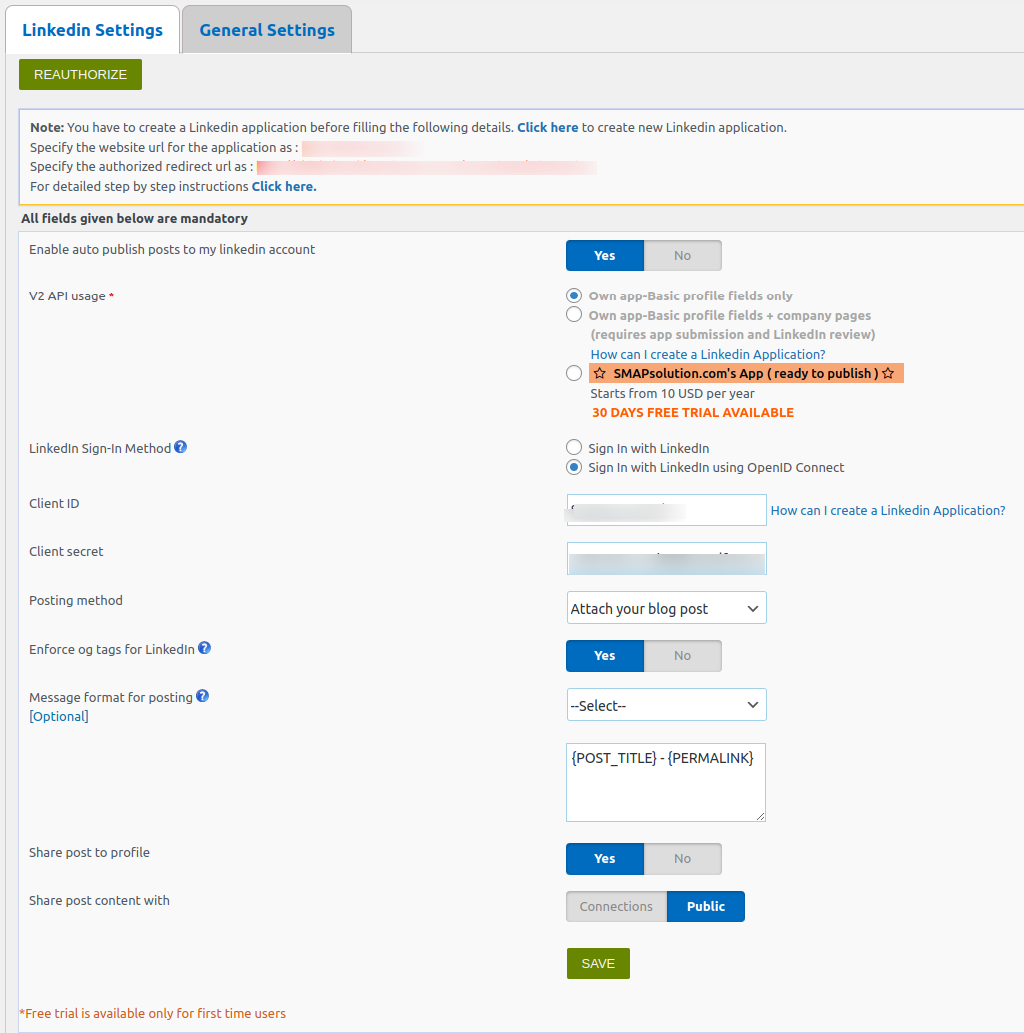
The settings are given below.
- Enable auto publish posts to my linkedin account – If you want to publish the posts to linkedin, please enable this option.
- V2 API Usage – If you want to publish to linkedin profile only, please select this option and if you want to publish to company pages also, please select basic profile fields+company pages. For the company pages, you need approval by linkedin and you need to apply for the API access. You can see more details in How can I auto publish to Linkedin company page?
If you want to use the smapsolutions app, please select that option. - Client ID – Enter the API key from linkedin application here.
- Client Secret – Enter the linkedin API secret key here.
- Posting method – We can publish a post to linked as simple text message, text message with image and attach blog post.
- Enforce og tags for LinkedIn – If you enable this option, Open Graph tags will be generated while posting to LinkedIn. When sharing links to LinkedIn, LinkedIn Crawler uses internal heuristics to set the preview image for your content, so the image preference set may not have relevance when using the posting method Attach your blog post in LinkedIn.
If Open Graph tags are present, most major content sharing platform’s crawlers will not have to rely on it’s own analysis to determine what content will be shared, which improves the likelihood that the information that is shared is exactly what you intended. - Message Format for posting – This is the message format for posting in the linkedin. You can add your message with post title, blog title etc. here. The codes are given below.
- {BLOG_TITLE} – This is the title of the blog (wordpress site name)
- {POST_TITLE} – Title of your post.
- {PERMALINK} – This is the URL of the post.
- {POST_EXCERPT} – This is the summary of your post.
- {POST_CONTENT} – This is the description of the post.
- {USER_NICENAME} – This is the nice name of the author.
- {POST_PUBLISH_DATE} – This is the post publish date.
- {POST_ID} – This is the ID of the post
- {POST_PUBLISH_DATE} – This is the post publish date.
- {USER_DISPLAY_NAME} – This is the user display name.
If you want to display the post title, the link to the post and the summary of the post, please use the codes {POST_TITLE} – {PERMALINK}-{POST_EXCERPT}. You can select the code from the dropdown menu.
8. Share post to profile – If you want to share the post to your linkedin profile, enable this option.
9. Share Post content with – Select the option to whom you want to display the posts. Select “public” if you want to display the post to public or select “Connections”, if you want to display the post with your connections only.
After entering all these details, please save it and now click on the “Authorize” button given in the top left section of the settings.
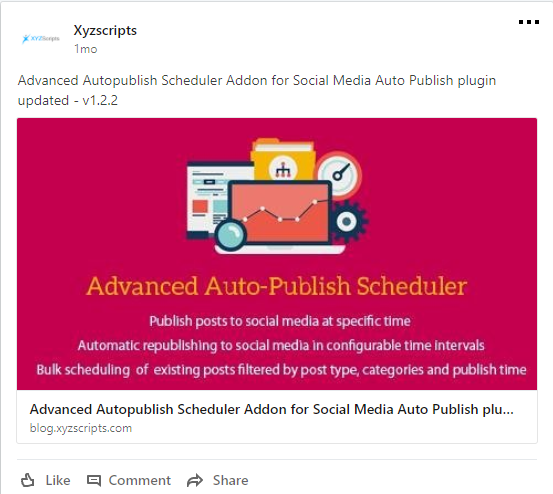
A sample linkedin post is given below.