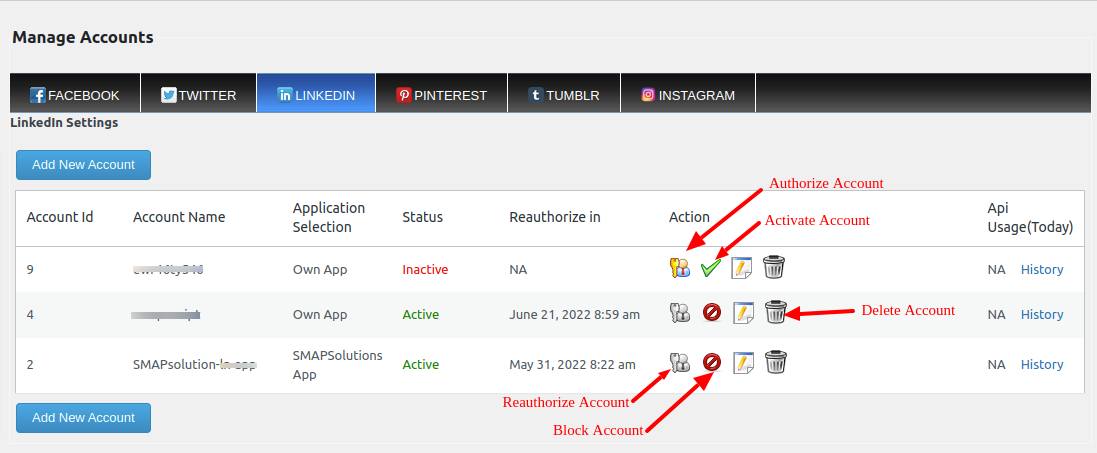
Linkedin Settings
You have to create a Linkedin application before filling in the LinkedIn settings details.
To create a new Linkedin application please follow the link
On the application page on LinkedIn, enter the values in the required fields and set the URL of your site as the Website URL. Also change the Live Status to Live, to display the posts publicly.
From the LinkedIn application, you will get the API Key and API Secret Key. Enter these values in the space provided.
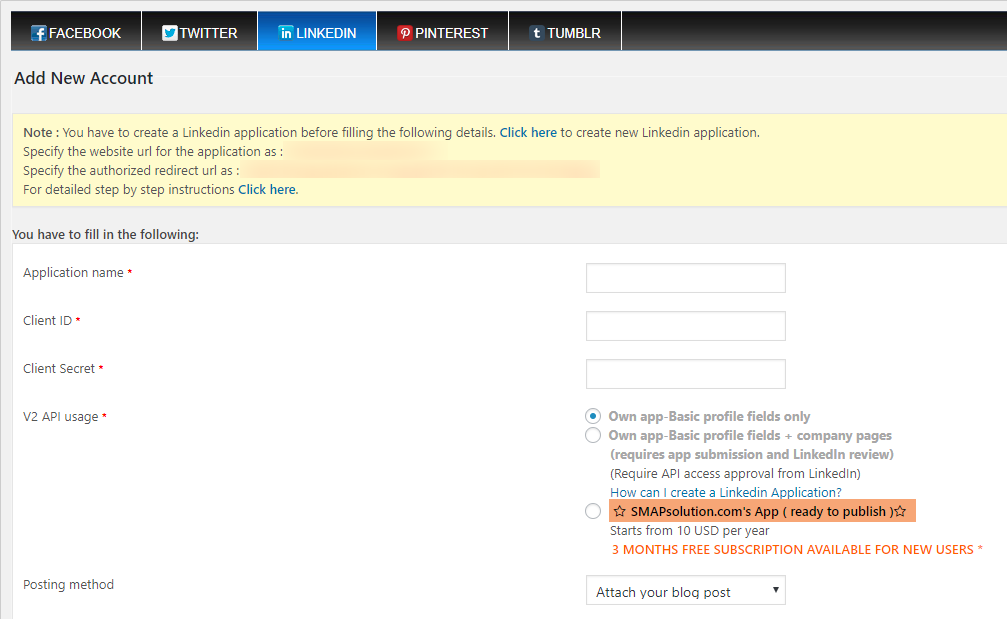
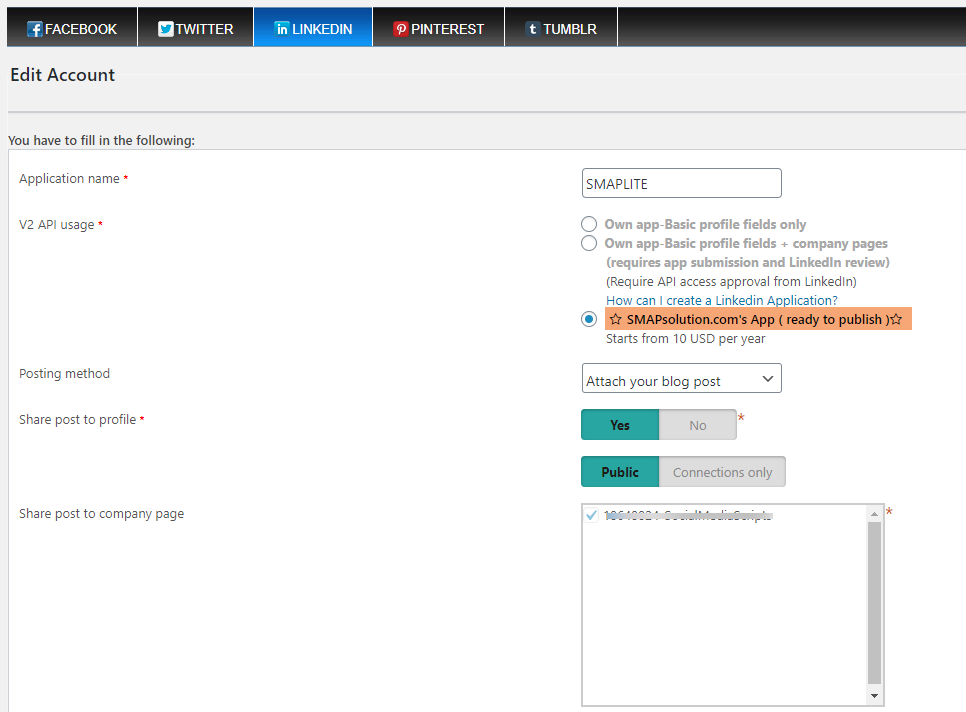
- Application Name – You can enter the name of your application here.
- Client ID – Enter the API key from the LinkedIn application here.
- Client Secret – Enter the LinkedIn API secret key here.
- V2 API Usage– If you want to publish to your LinkedIn profile only, please select this option and if you want to publish to company pages also, please select basic profile fields+company pages. For the company pages, you need approval from LinkedIn and you need to apply for API access. You can see more details in How can I auto publish to Linkedin company page?
Override Publishing Settings
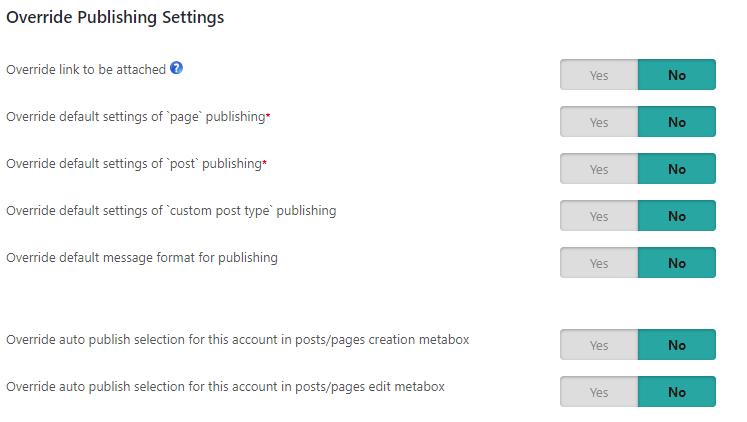
- Override link to be attached – If you override, the first link obtained from the message format will be used instead of {PERMALINK} of the post. If no link is obtained, then the first link from the post description will be used.
- Override default settings of `page` publishing – You can use the default setting for publishing WordPress pages or override the default settings.

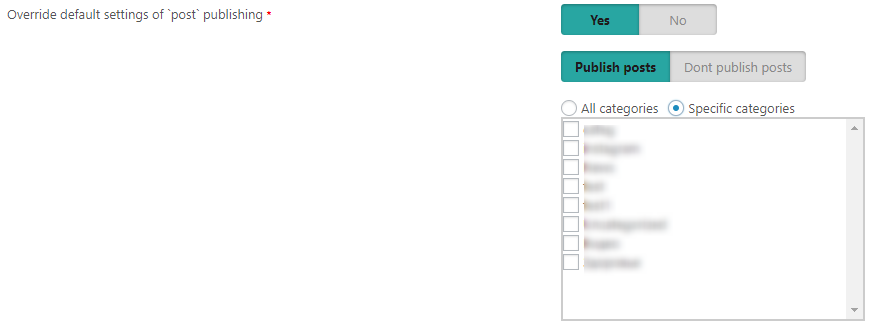
- Override default settings of `posts` publishing – You can use the default setting for publishing wordpress posts to categories or override the default settings and change the category.
Note: If you are selecting a specific category, we can select the ‘category selection mode’.
- Override default settings of `custom post type` publishing – You can use the default setting for the WordPress custom post types or select a particular custom post type.

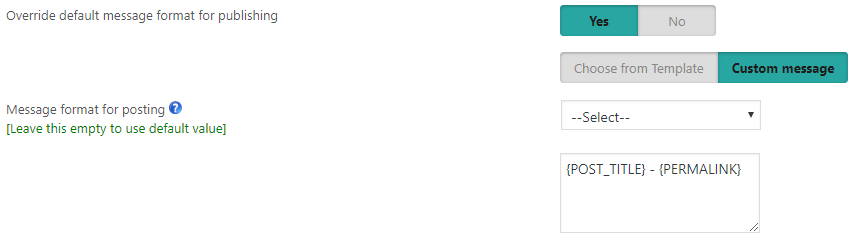
- Override default message format for publishing – Here we can override the message format. We can use
1. message from a template

2. custom message
- Override auto publish selection for this account in posts/pages creation metabox – Override this account’s auto selection option in the metabox while creating the post or page.
- Override auto publish selection for this account in posts/pages edit metabox – Override this account’s auto selection option in the metabox while editing the post or page.
Override Scheduling settings (Applicable only if the scheduling is enabled on the settings page)
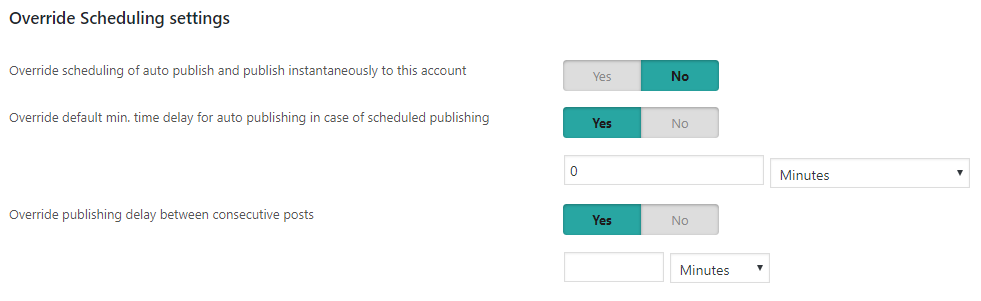
- Override scheduling of auto publish and publish instantaneously to this account – We can override the scheduling option and use the instantaneous publishing of this account.
- Override default min. time delay for auto publishing in case of scheduled publishing – We can set up a minimum delay for each social media account in case of scheduled publishing and so it will publish after the delay to that social media.
- Override publishing delay between consecutive posts – We can override the delay between consecutive posts.
After creating the new account, please click on the “Save and Authenticate” button.
Now you can see the option to publish to your profile and the company page(If you are using that option).
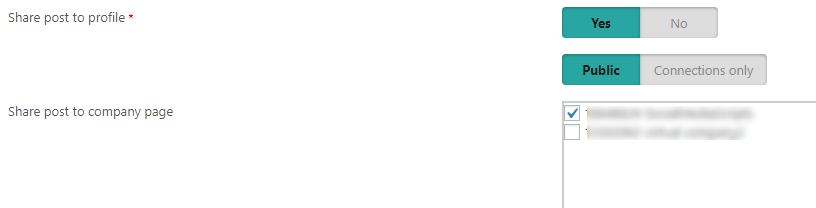
- Share post to profile– We can post to LinkedIn profile and select this option. Now we can select the option to whom you want to display the posts if you want to share to your profile. Select “public” if you want to display the post to the public or select “Connections Only” if you want to display the post with your connections only.
- Share post to Company Page – If you want to share to “Company Page” you can select the company page from the list.
We can publish the posts on LinkedIn with or without images. The LinkedIn posts are given below.
Linkedin simple post
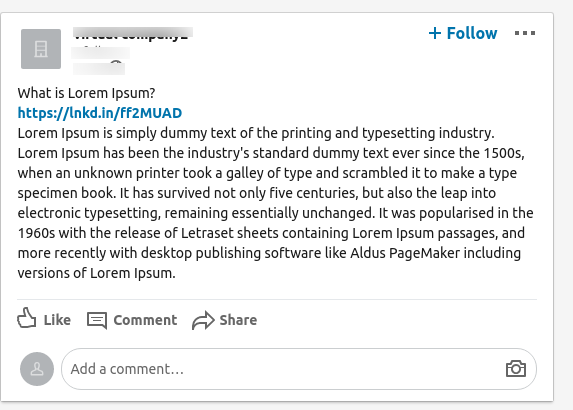
Linkedin Image Post

The steps for using the already approved app – Smapsolutions app
Please select the smapsolutions app option.
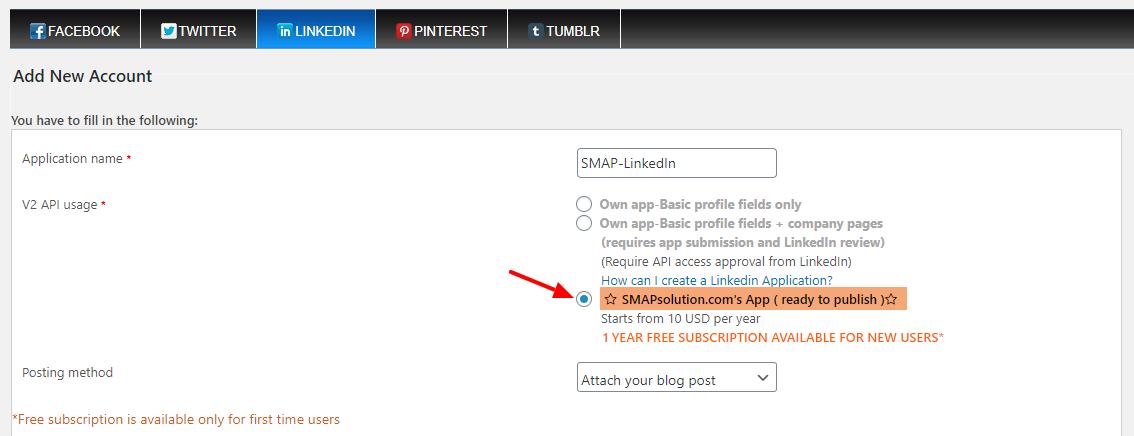
Please enter other details and save them.
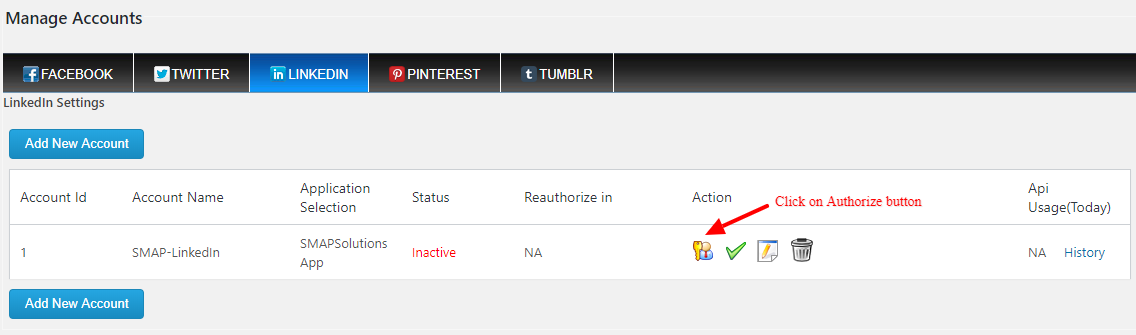
Now click on the Authenticate (authorize/reauthorize) button.
Now you can purchase the SMAP Package. The price depends on the number of LinkedIn accounts and API calls per day per account.
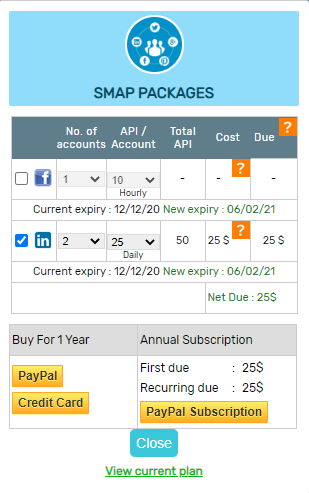
After purchasing a package and successful payment it will redirect to LinkedIn authorization flow.
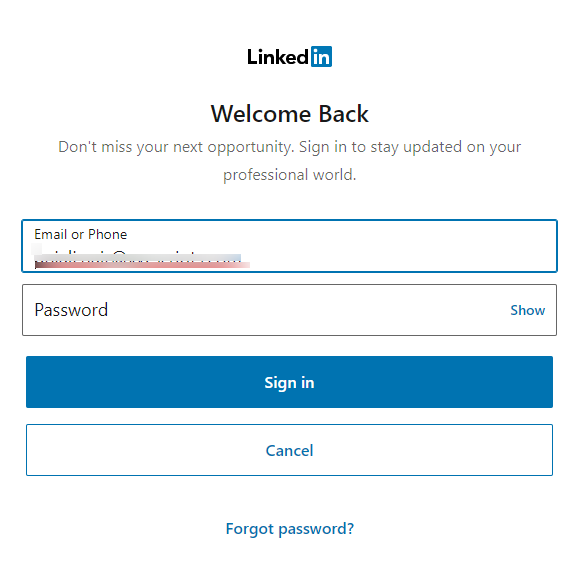
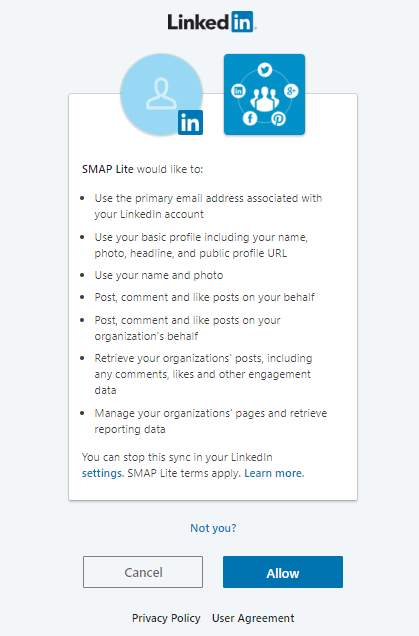
Login to the LinkedIn account and then allow the app to connect to your account.
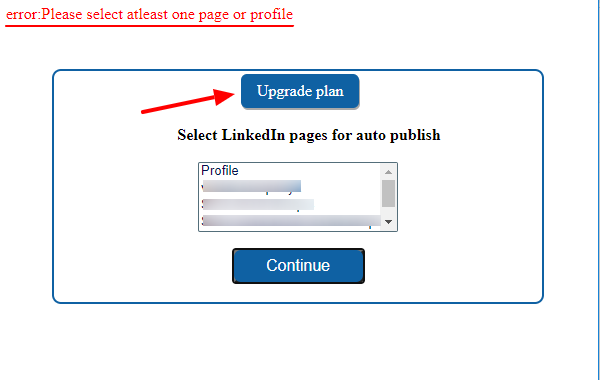
Now you can select the LinkedIn pages to publish.
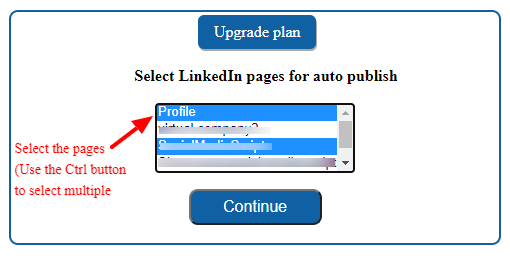
The selected page is now displayed in the LinkedIn settings in the plugin.
Error cases on the authorization procedure
- Click on continue without selecting pages