Popup Dialog Box
You can create a dialog box from this page. The settings of the dialog box configurations are given below.
The dialog box has 2 sections, a title and a body.
Title
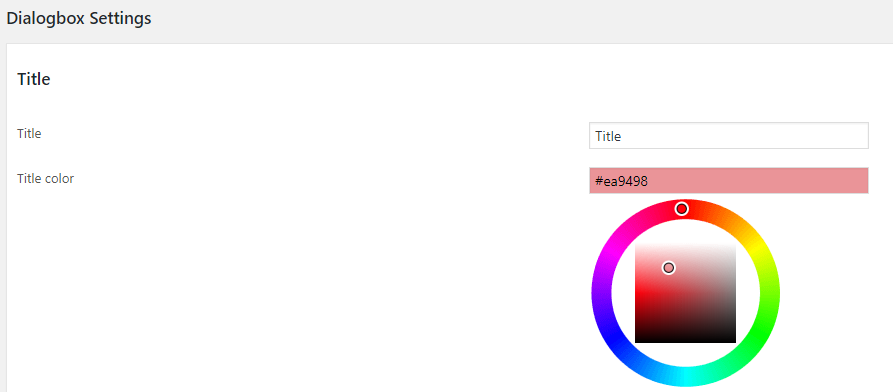
Title : We can enter the title of the dialog box here.
Title color : We can select the Title color here with the help of color picker.
Content
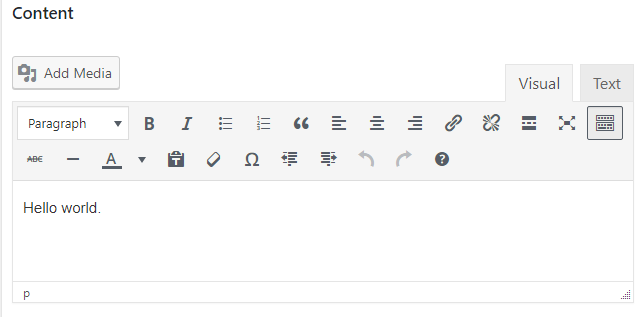
Content : You can enter your dialog box content here.
Position Settings
There are 2 options for positioning the dialog box, predefined settings and manually edit settings.

In the predefined settings, you can select one position from the predefined 9 positions.
You can place the dialog box in the top left corner of the webpage, on left center, on bottom left corner, on bottom center, on bottom right corner, on right center, on top right corner, on top center and the absolute center of the webpage.
Also you can set the height and width of the dialog box in percentage as well as in pixel values.
In the manually edit position setting, you can select the display position.

The 4 display positions in the manually edit settings are top left, top right, bottom left and bottom right.
For the top left position, you can set the top coordinate and left coordinate. Top coordinate is the distance of the dialog box from top of the webpage and left coordinate is the distance from left side of the webpage.
The width and height are same as that in the predefined position settings.
Display Logic Settings
This section allows us to select the dialog box display logic.
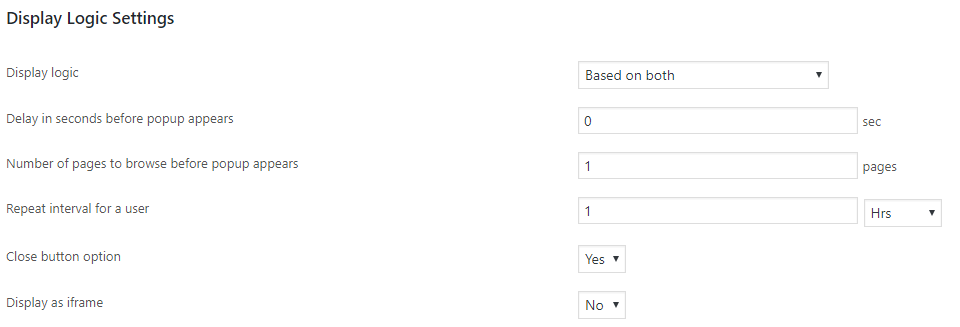
We can display the dialog box based on delay, number of pages browsed or both.
Dialog box display logic – This is the logic, how to display the dialog box in our webpages.
There are 3 options.
1. Based on delay
2. Based on number of pages browsed
3. both
In the “Based on delay” logic, the dialog box will appear after a delay.

You can set the time for this delay.
In the section “Delay in seconds before rendering” you can enter the delay in seconds. If it is “0(zero)” the dialog box will appear without any delay.

In the “Based on number of pages browsed” logic, the dialog box will appear after the user browsing some pages entered in “Number of pages to browse before rendering“.

In the “both” option, the dialog box will appear after a particular delay and after the user browsed some pages.
Repeat interval for a user – This is the dialog box repeat interval. If you want to display the dialog box only after 30 minutes from the first display, you can enter that value here.
If this value is 0(zero), the dialog box will appear on every trigger.
Close button option – If you want to display a close button with the dialog box, use this option. Otherwise the user cannot close the dialog box.
Display as iframe – We can display the dialog box in iframe or in the same page.
If you are using the iframe, any link in the dialog box or buttons will open in the same dialog box.
To open a link in a window outside the dialog box or to use a social media button, please disable the iframe display.
Style Settings
Here we can select the style of the dialog box.

Z index – Z index determines whether the dialog box should display under or above the pages.
As the value of z index increases, the dialog box become on top(above) of all page contents.
Background color – We can select the dialog box background using a color picker.
Border color – This is the color of the dialog box border and title background.
Border width – We can set the width/thickness of the dialog box border here.
Border radius – If you want a rounded corner for the dialog box, use this oprion. As the radius increases, the roundness also increases. Use ‘0’ for rectangular edges.
Placement Settings
Placement mechanism – This is the mechanism we are using to add the dialog box in pages.
There are 3 placement mechanisms
1. Automatic – Here the dialog box will load in all pages.

2. Manual – If you want to display the dialog box in some pages, use this option. Now you need to add the short code (like [xyz_dbx_default_code]) in the pages where you want to display the dialog box.

3. Specific Pages – Here you can specify the pages you want to display the dialog box. You can display the dialog box in pages, posts and in home page.
Reset cookies?(for testing) – For testing purposes we need to reset the cookies. If you want to see this dialog box immediately after you make changes in any settings, you have to reset the cookies.
Tick this option to reset the cookies.
Now click the “Update Settings” button to save the dialog box.
If the selected placement mechanism is “Automatic”, the dialog box will display in all pages.
If the selected placement mechanism is “Manual”, please copy the short code and paste in the page where you want to display the dialog box.